
Created by Angelina and Mckenna 2026
In this simple step-by-step tutorial, you will learn how to make your very own rosary!
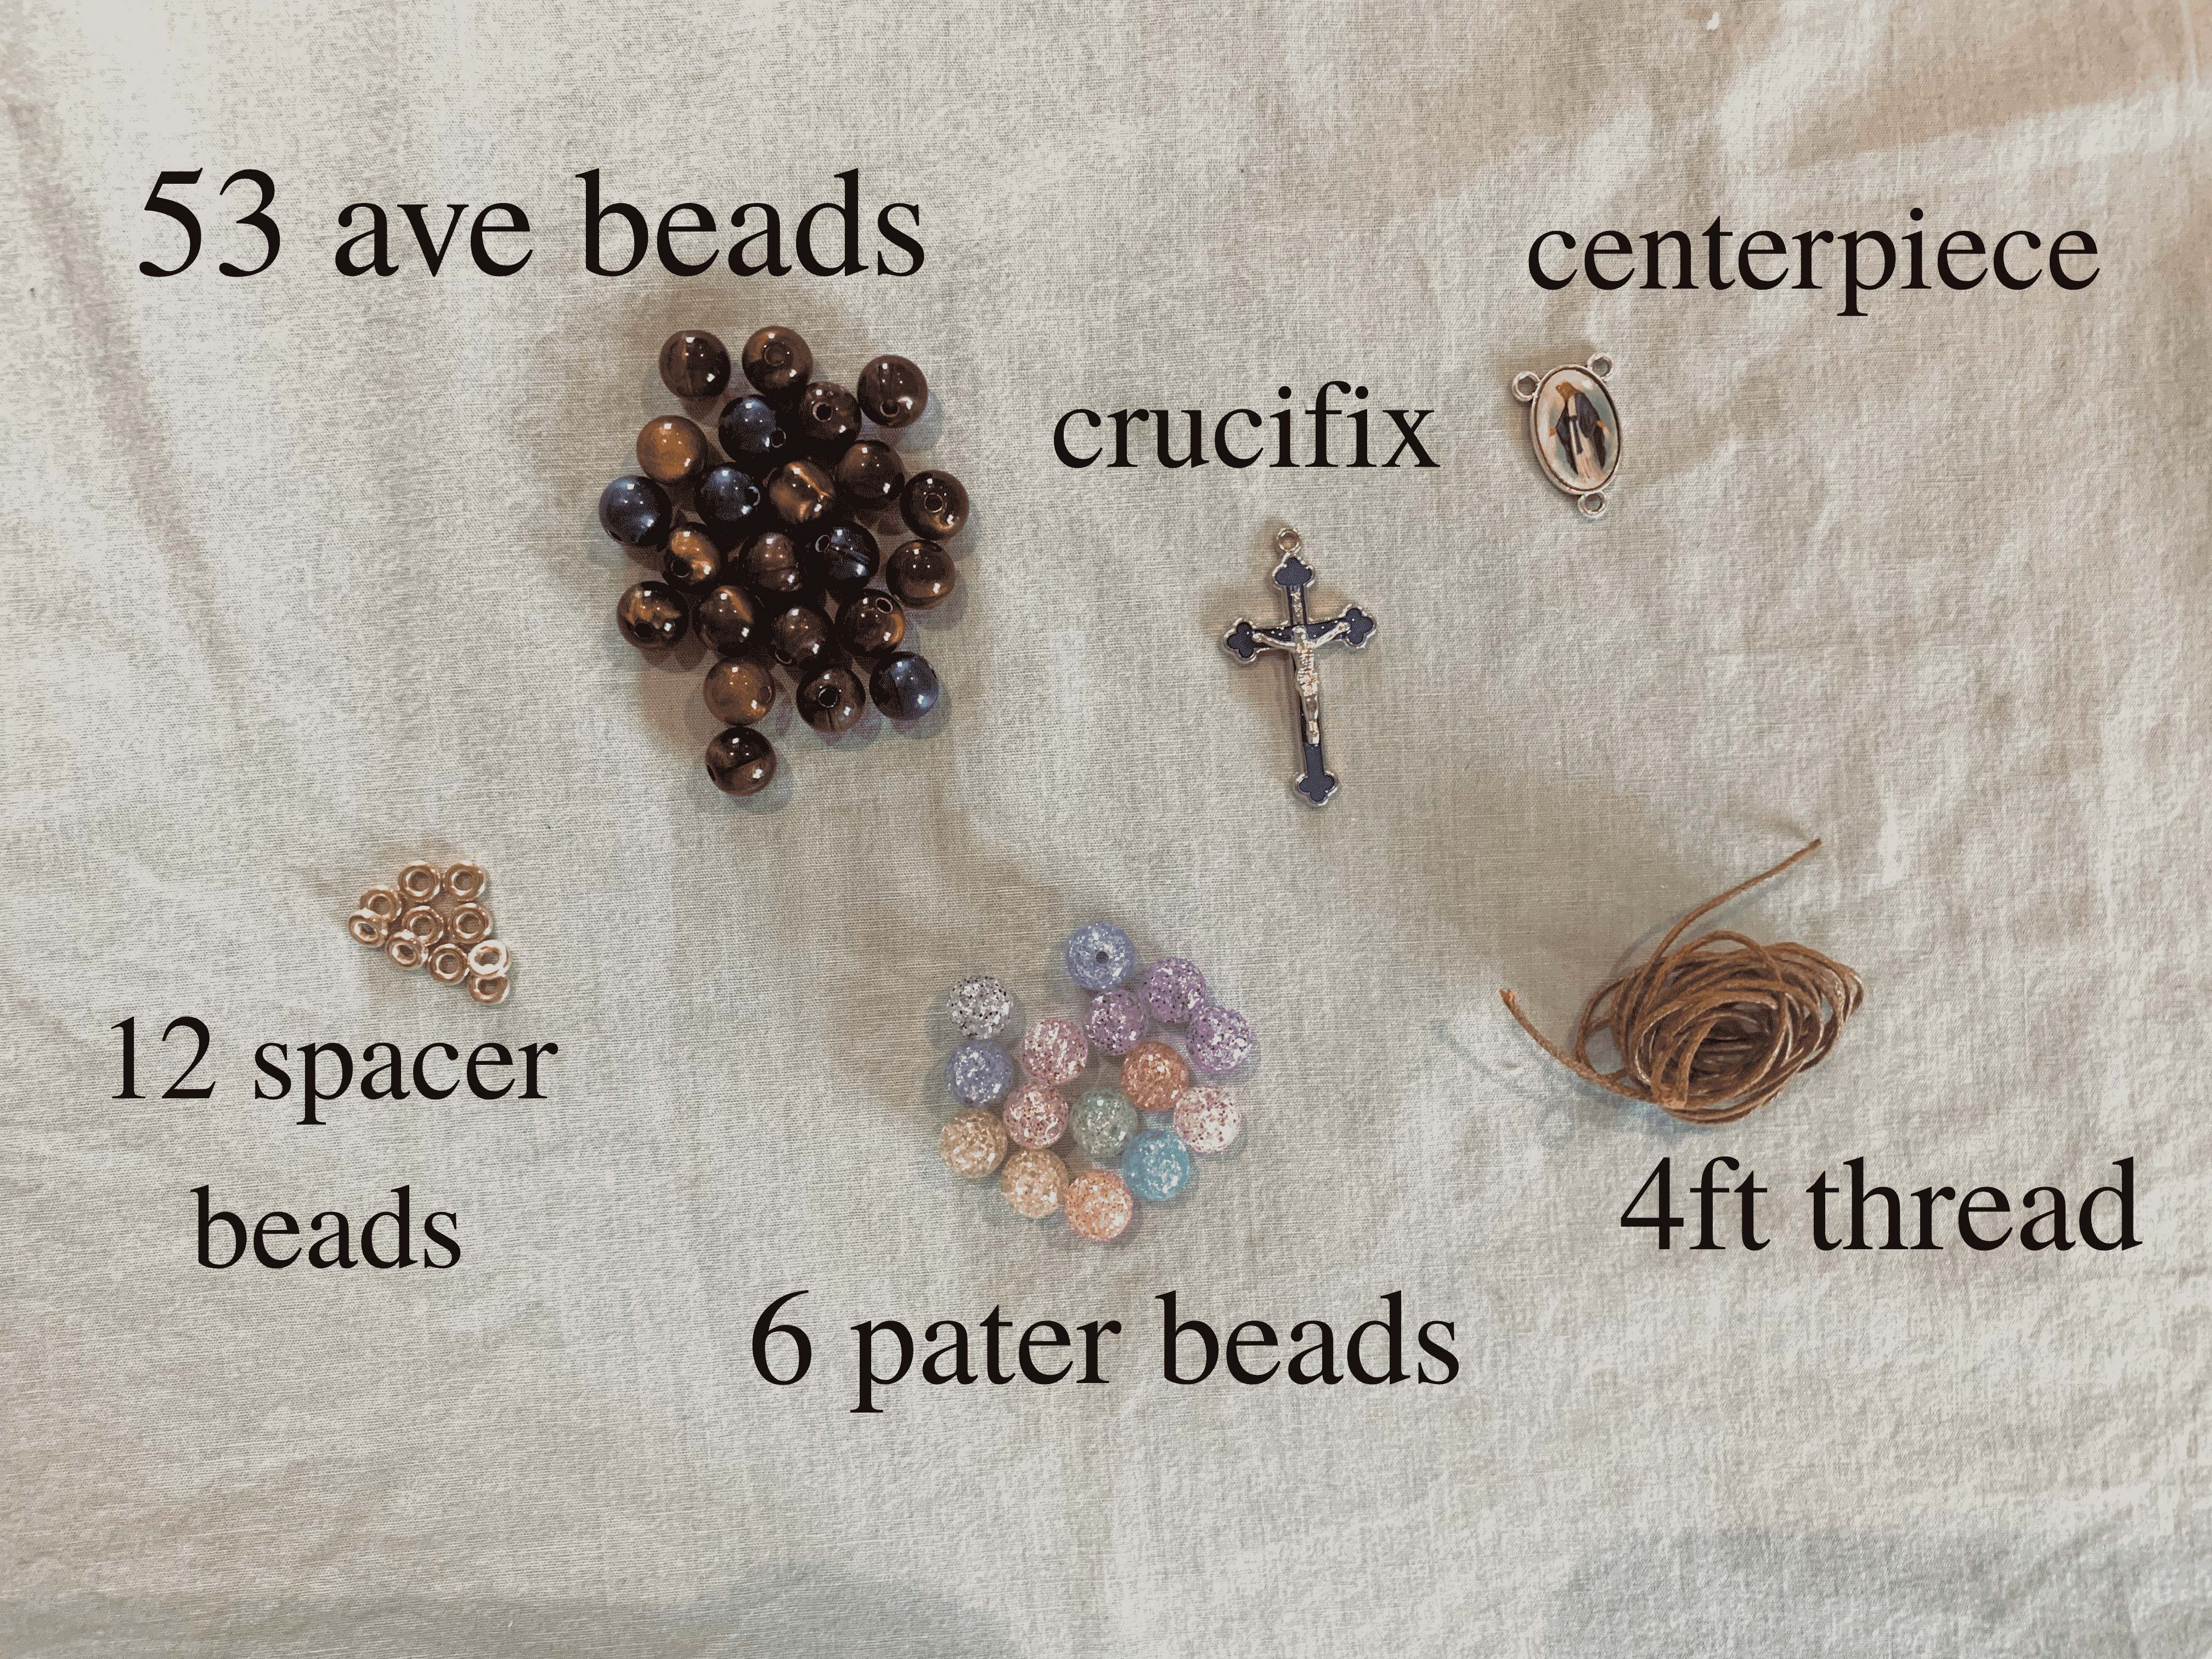
Step 1: Gather all materials. You will need:
Step 2: Cut a four foot length of thread.
Step 3: Fold the thread in half.
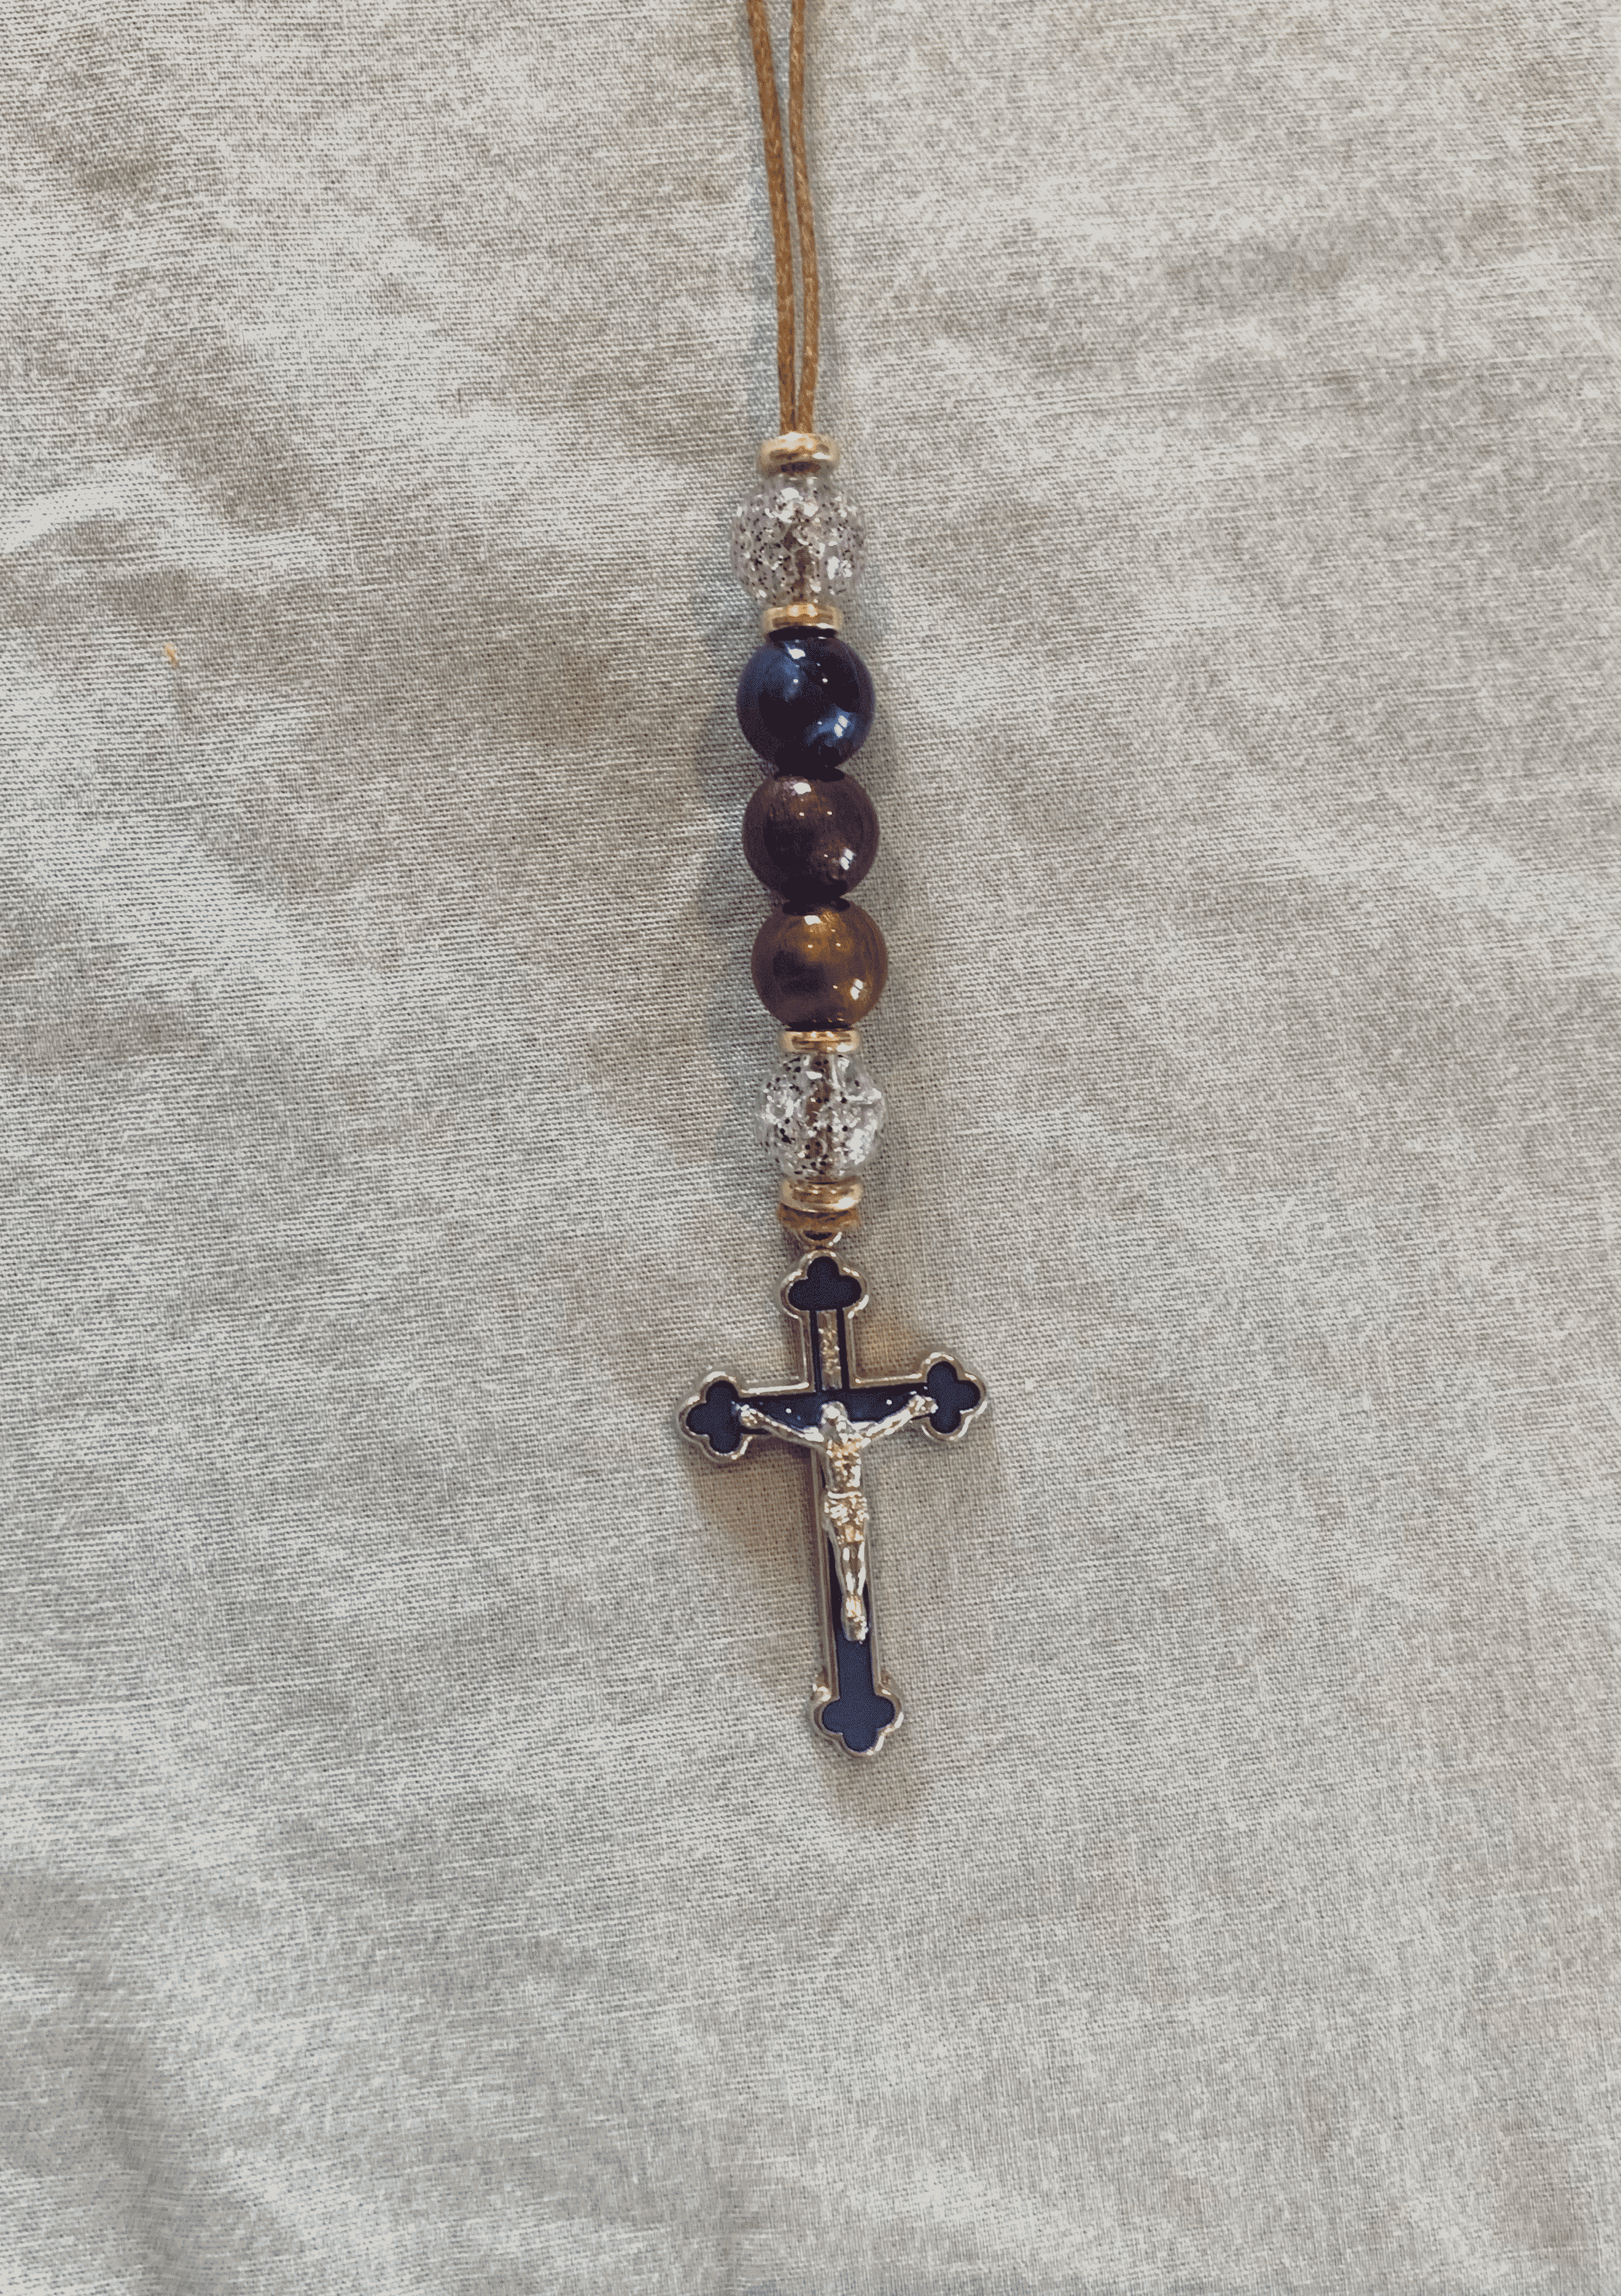
Step 4: Insert the loop end through the hole in the crucifix from front to back
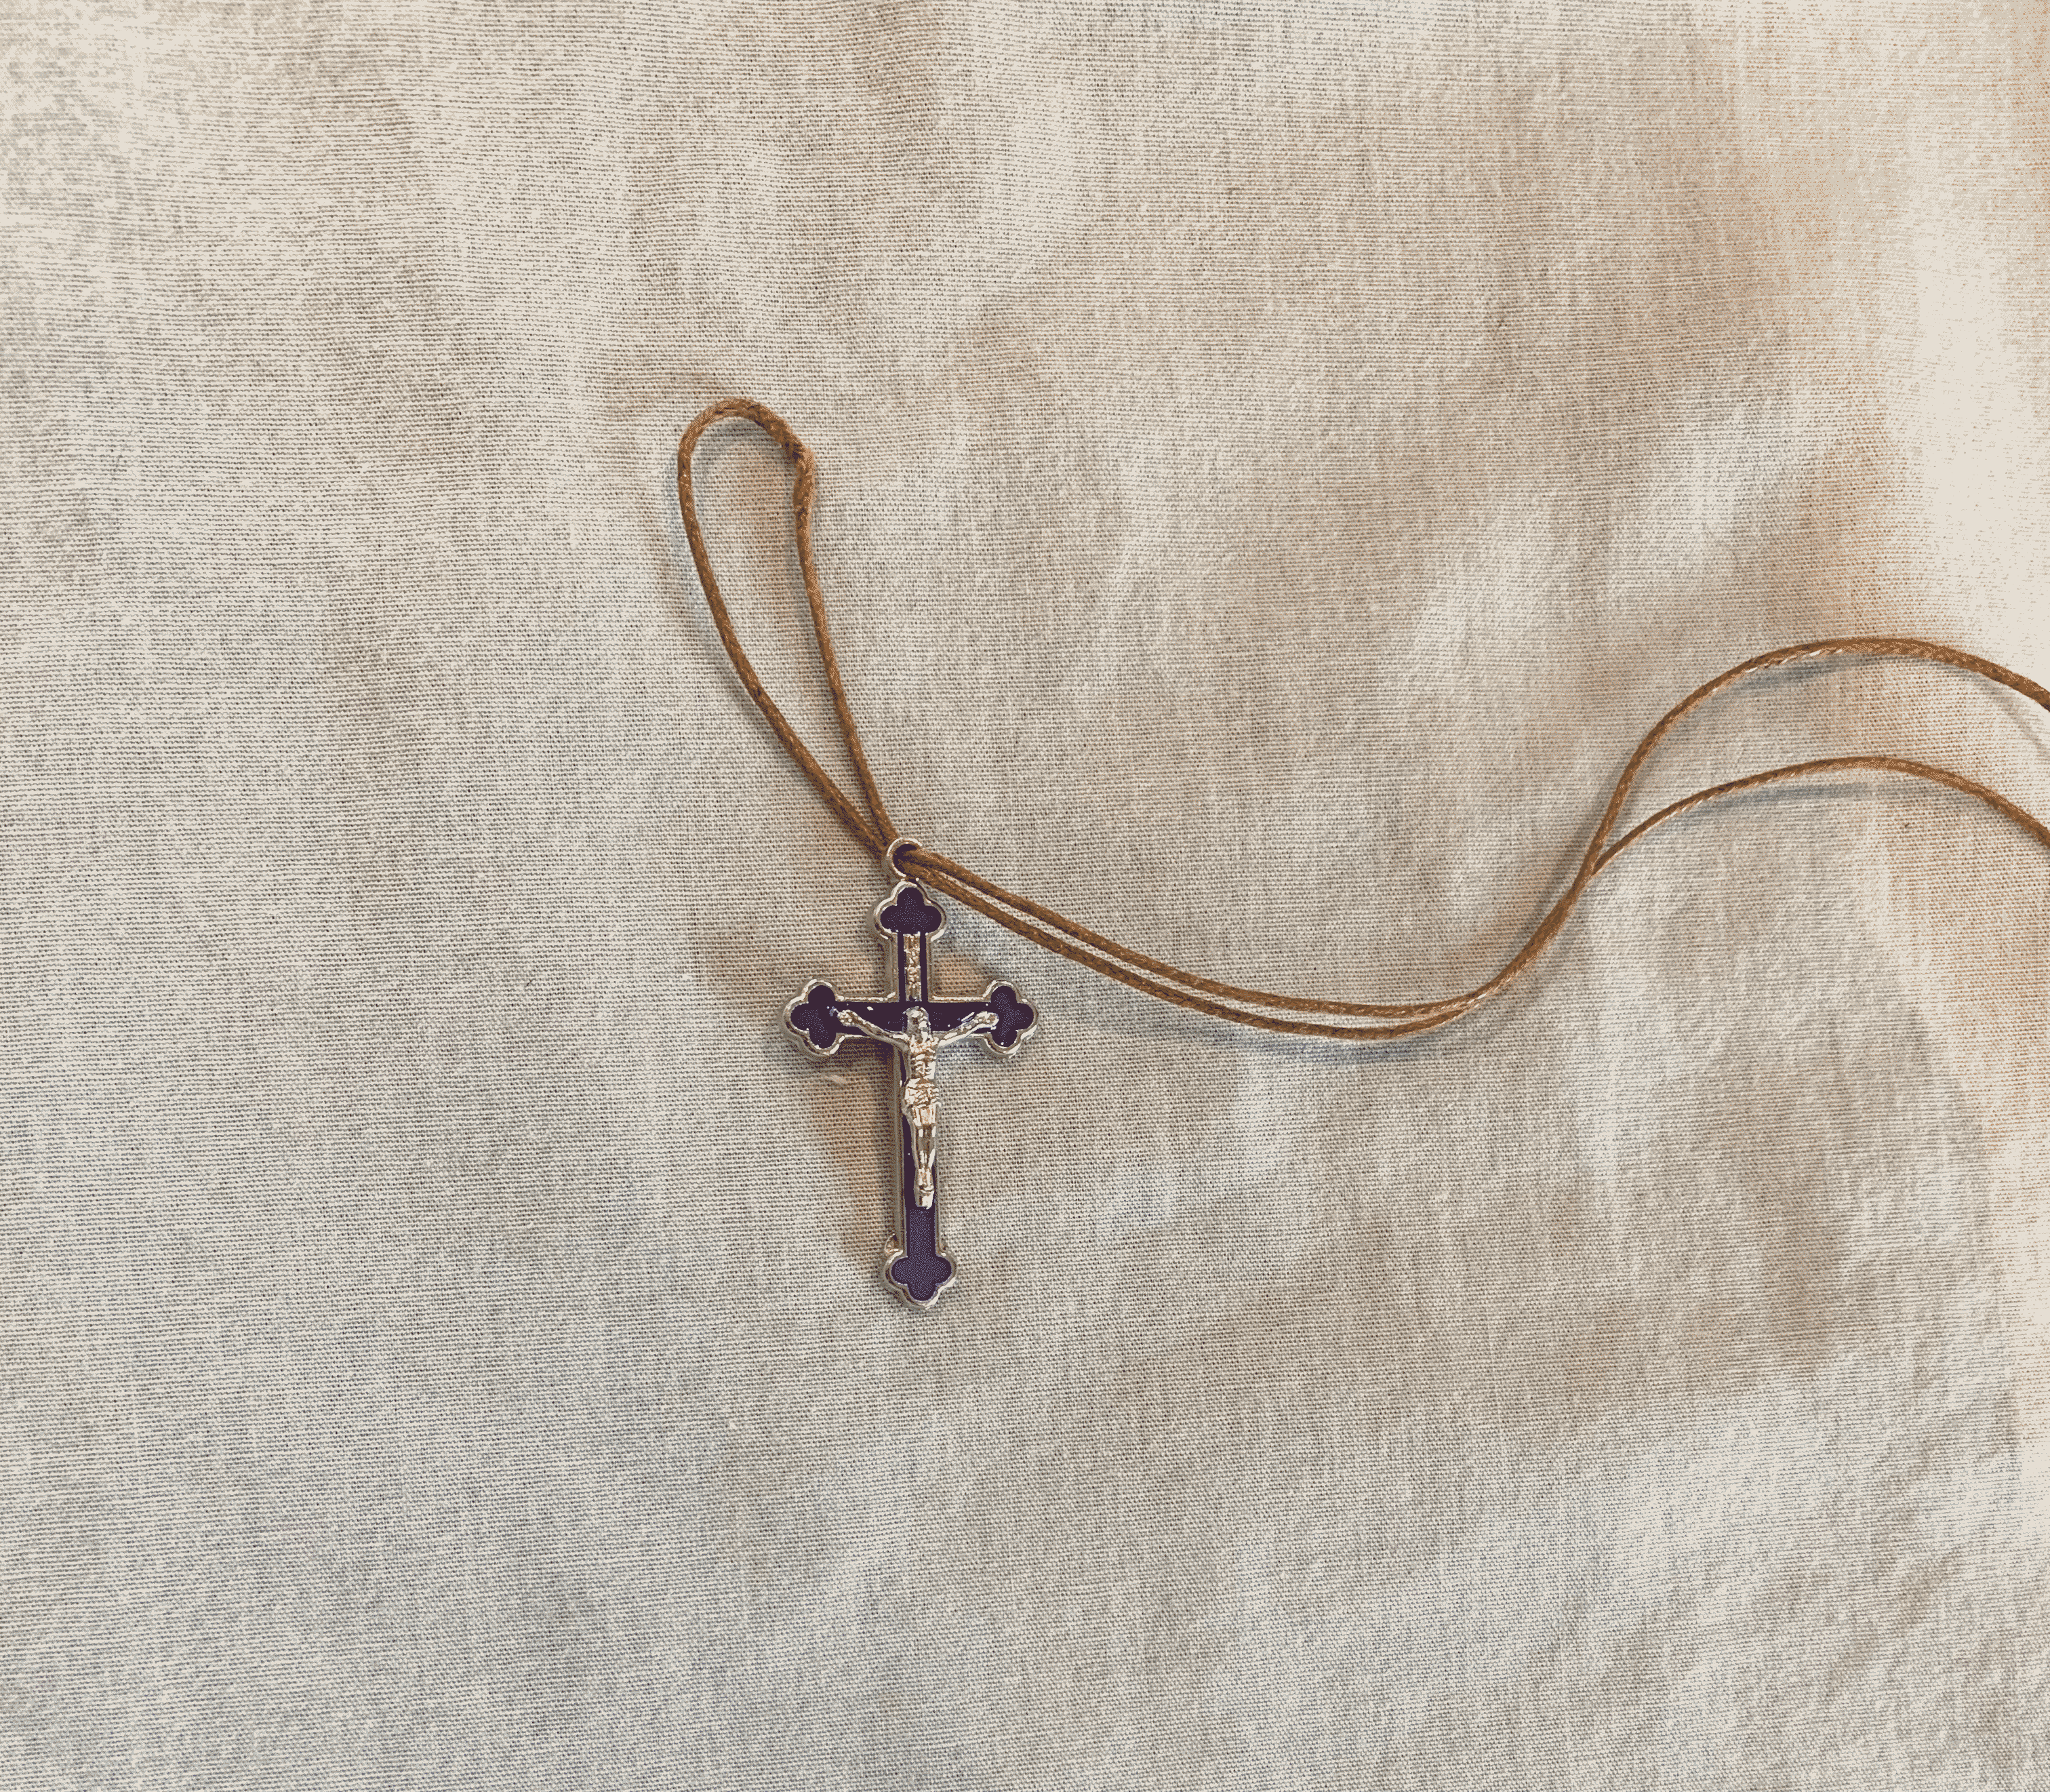
Step 5: Insert the two cut ends through the loop.
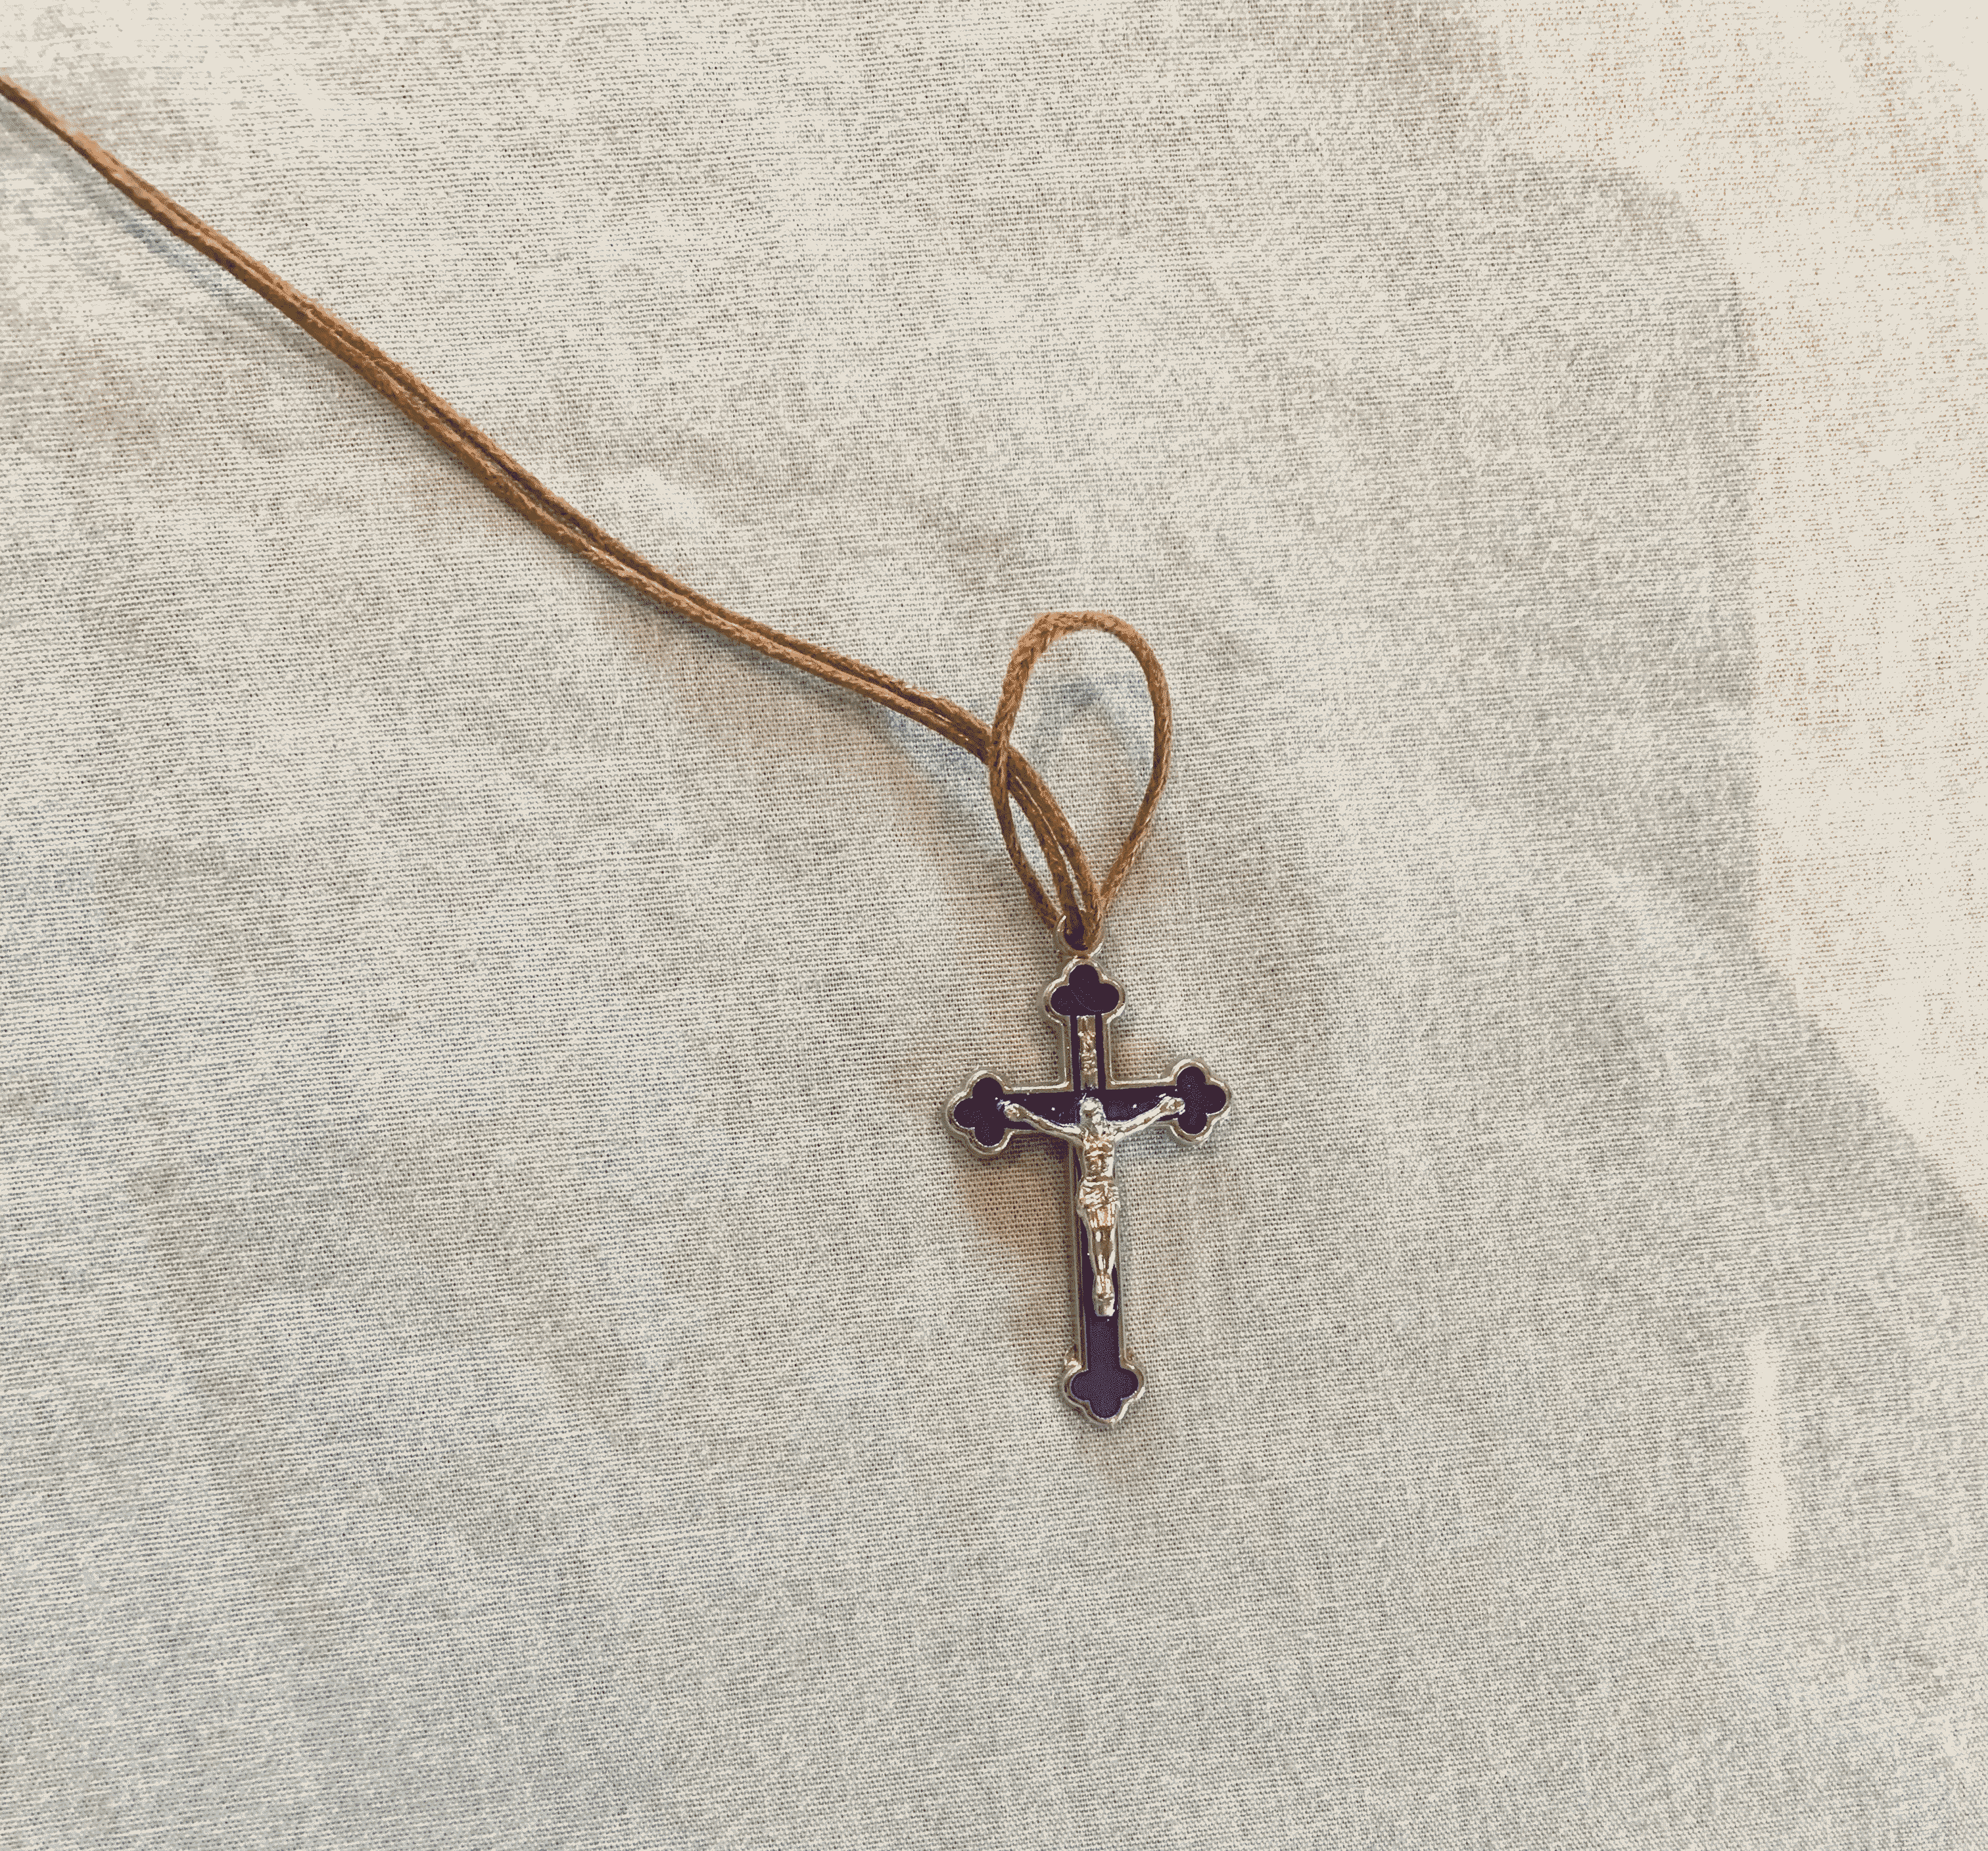
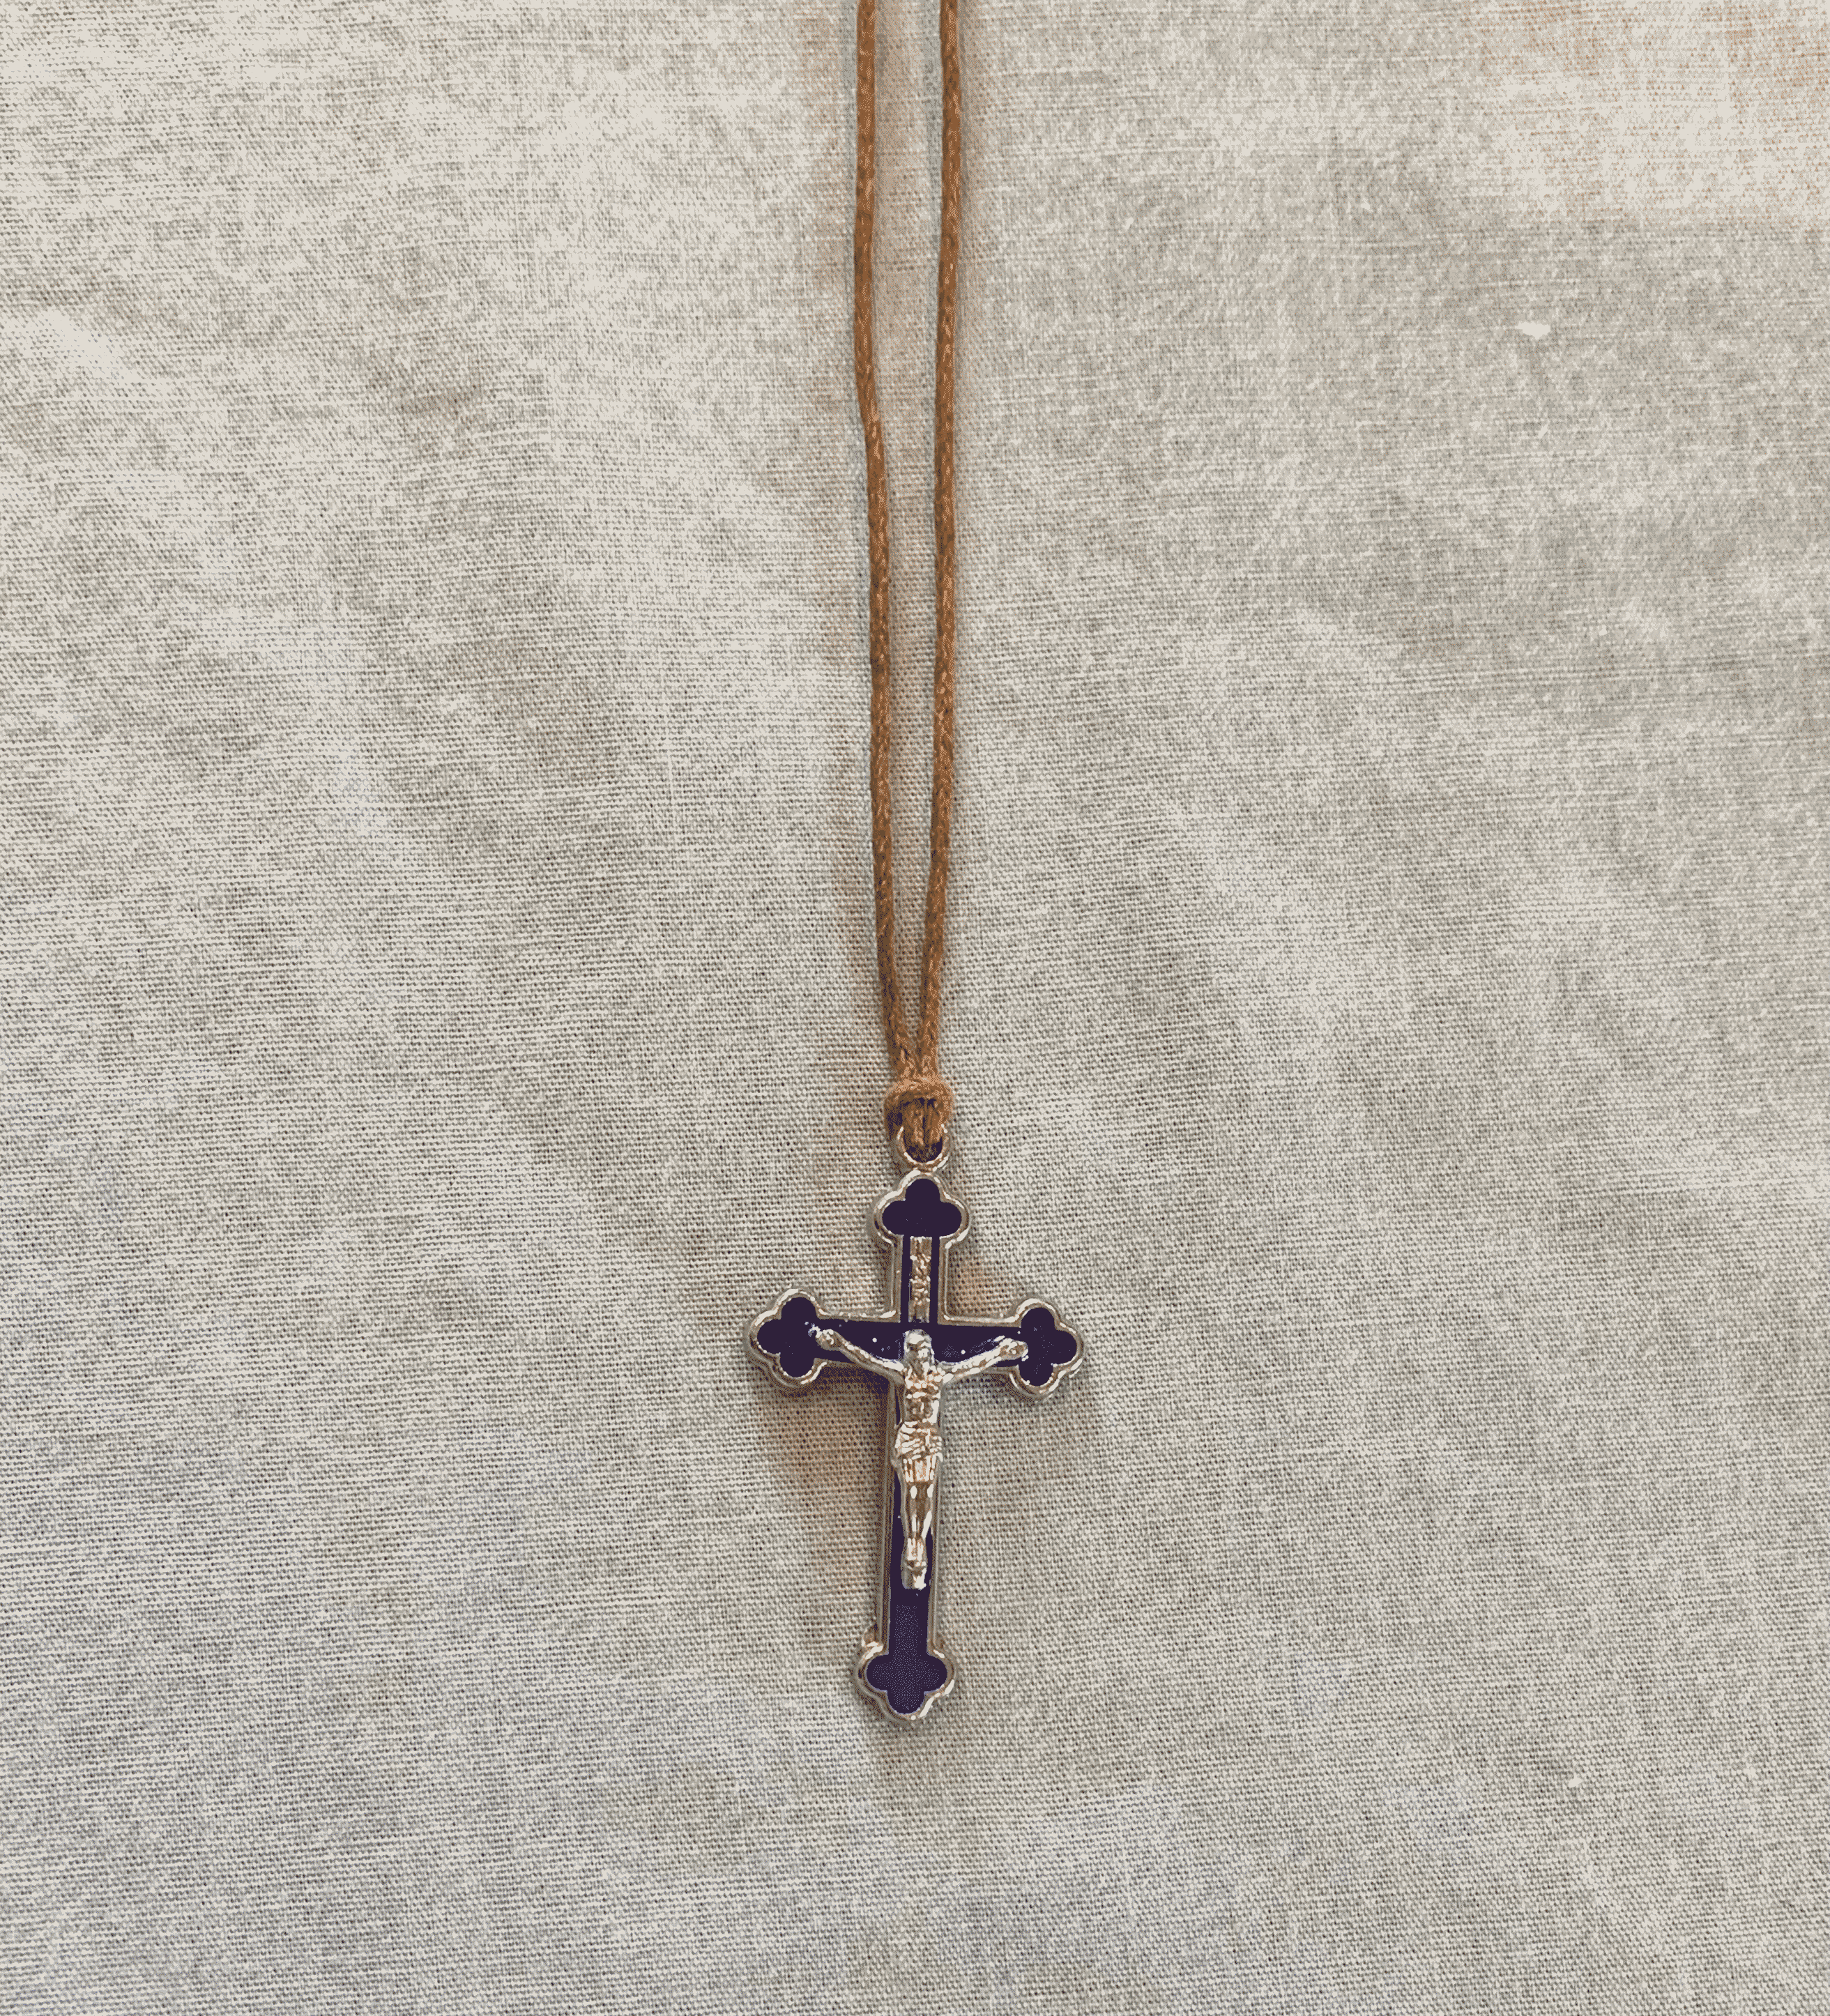
Step 6: Pull to tighten.
Step 7: Insert the first few beads in this pattern:

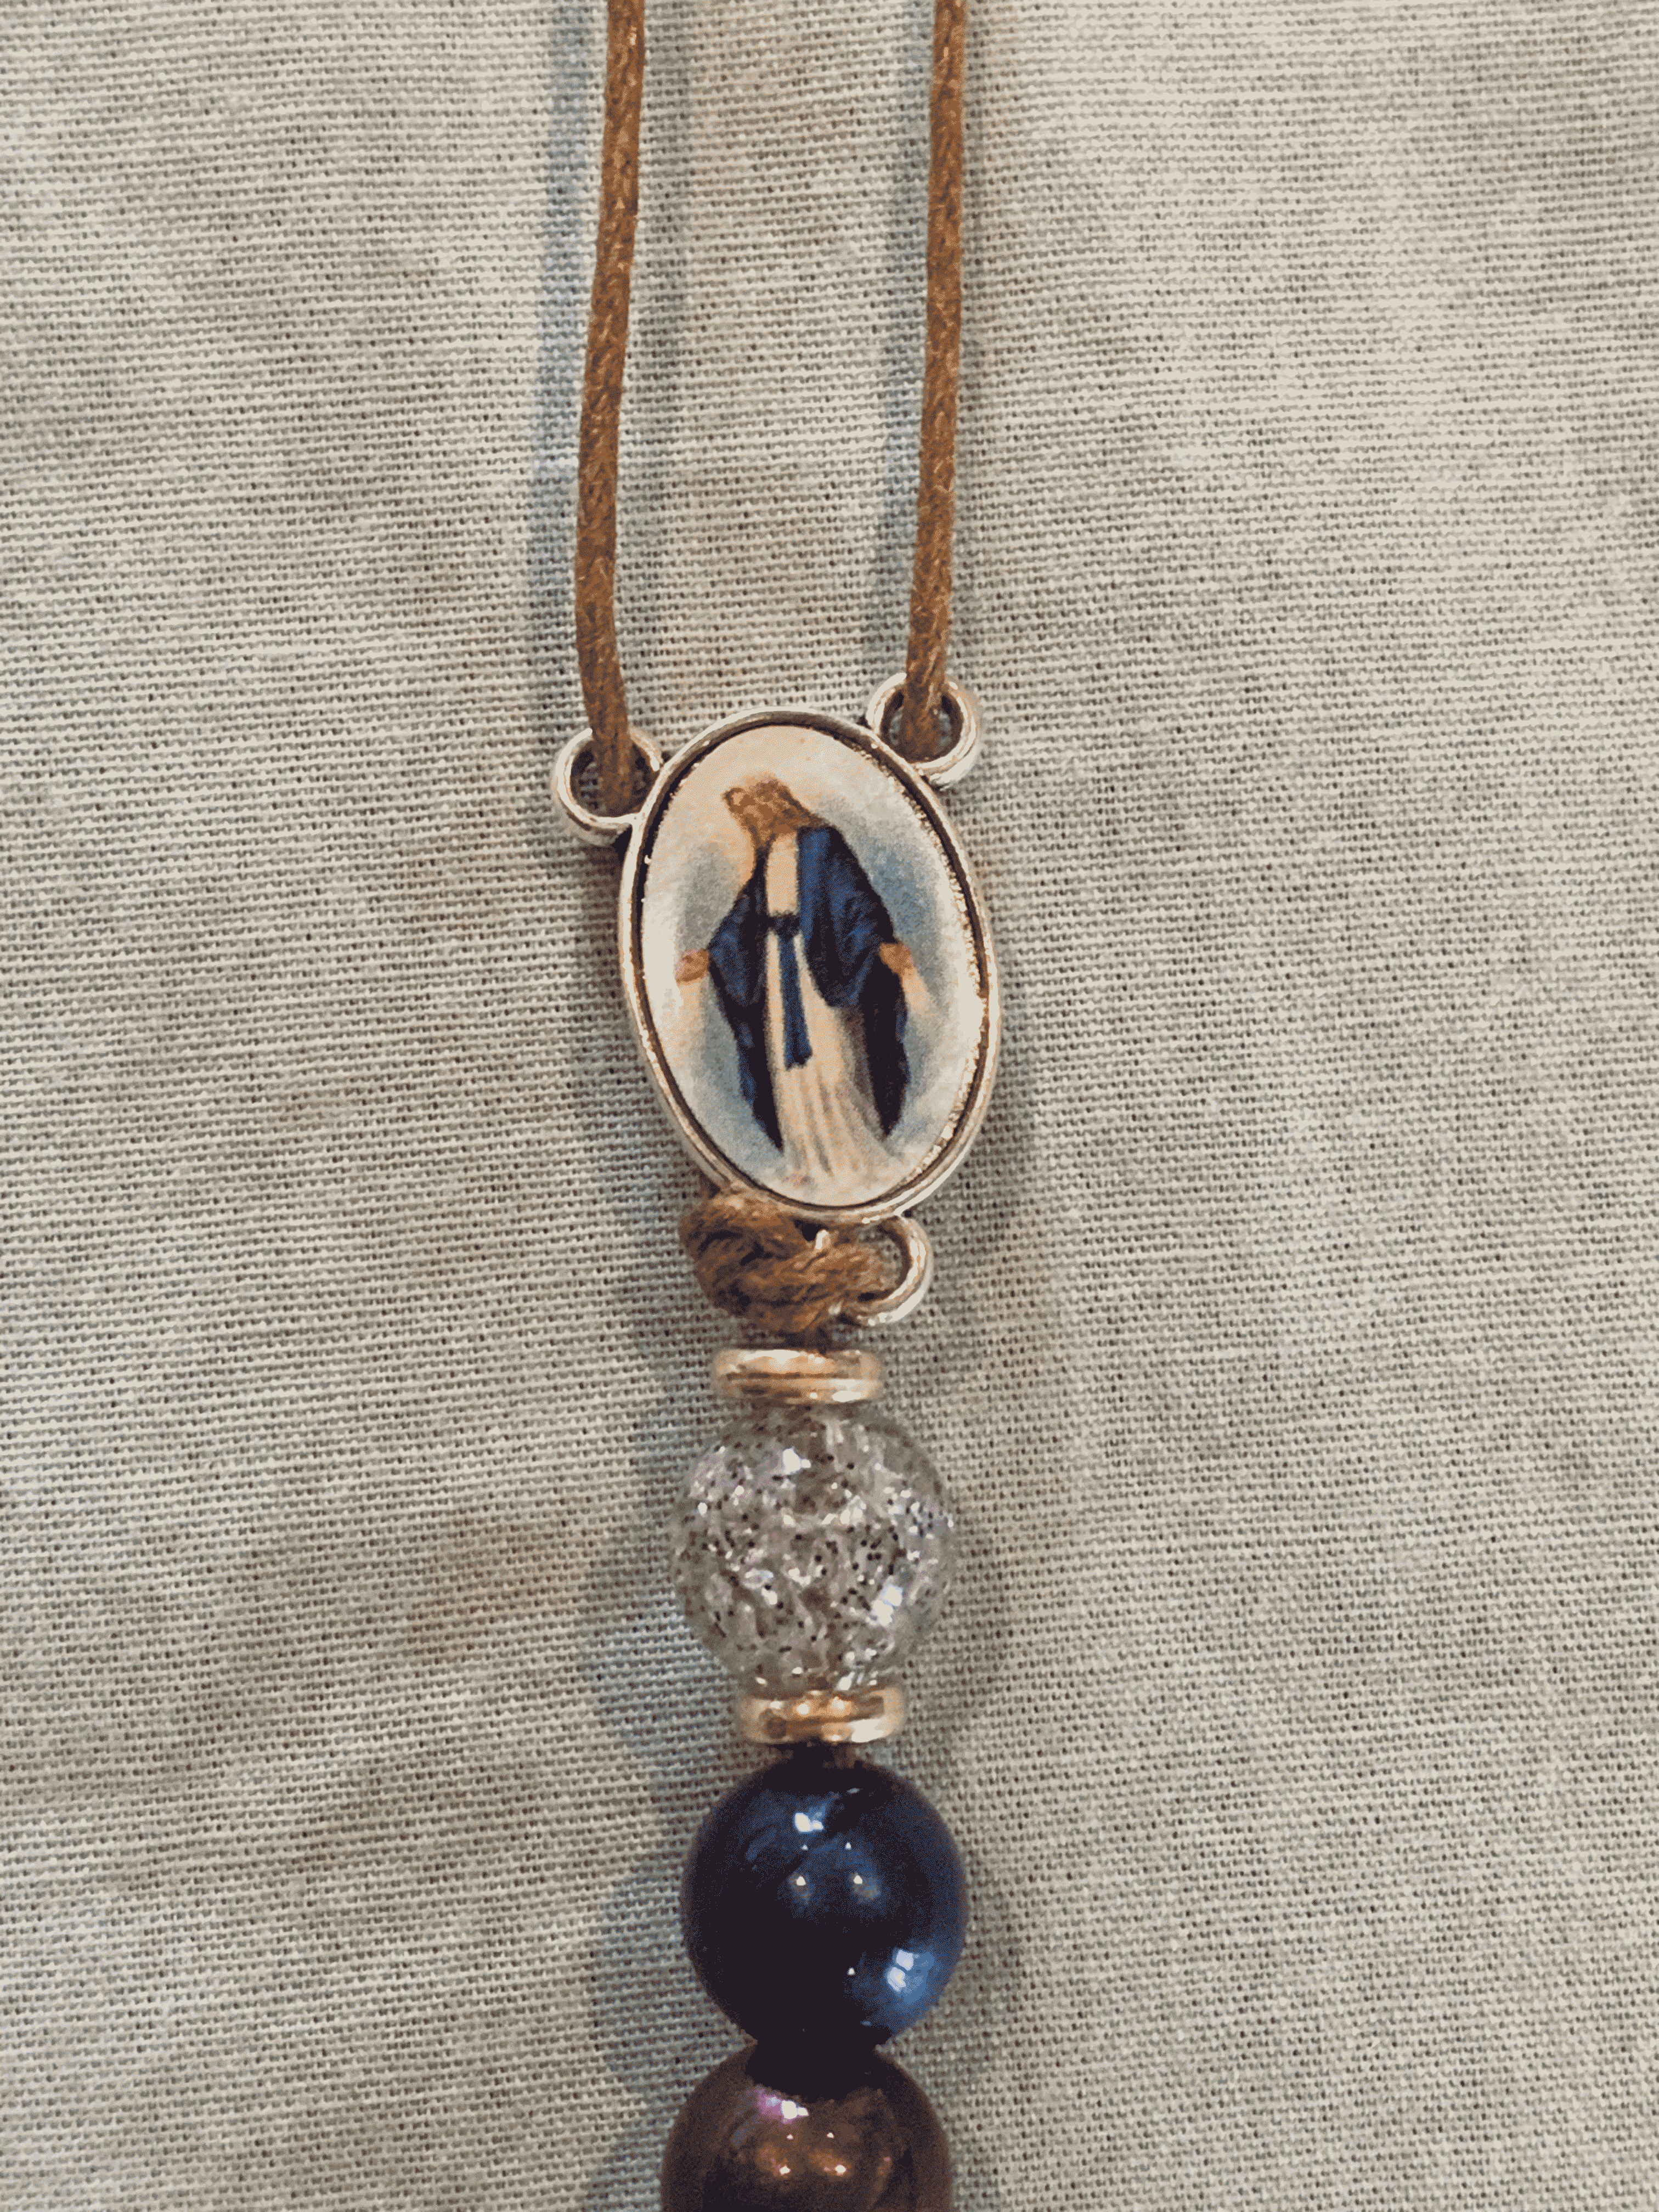
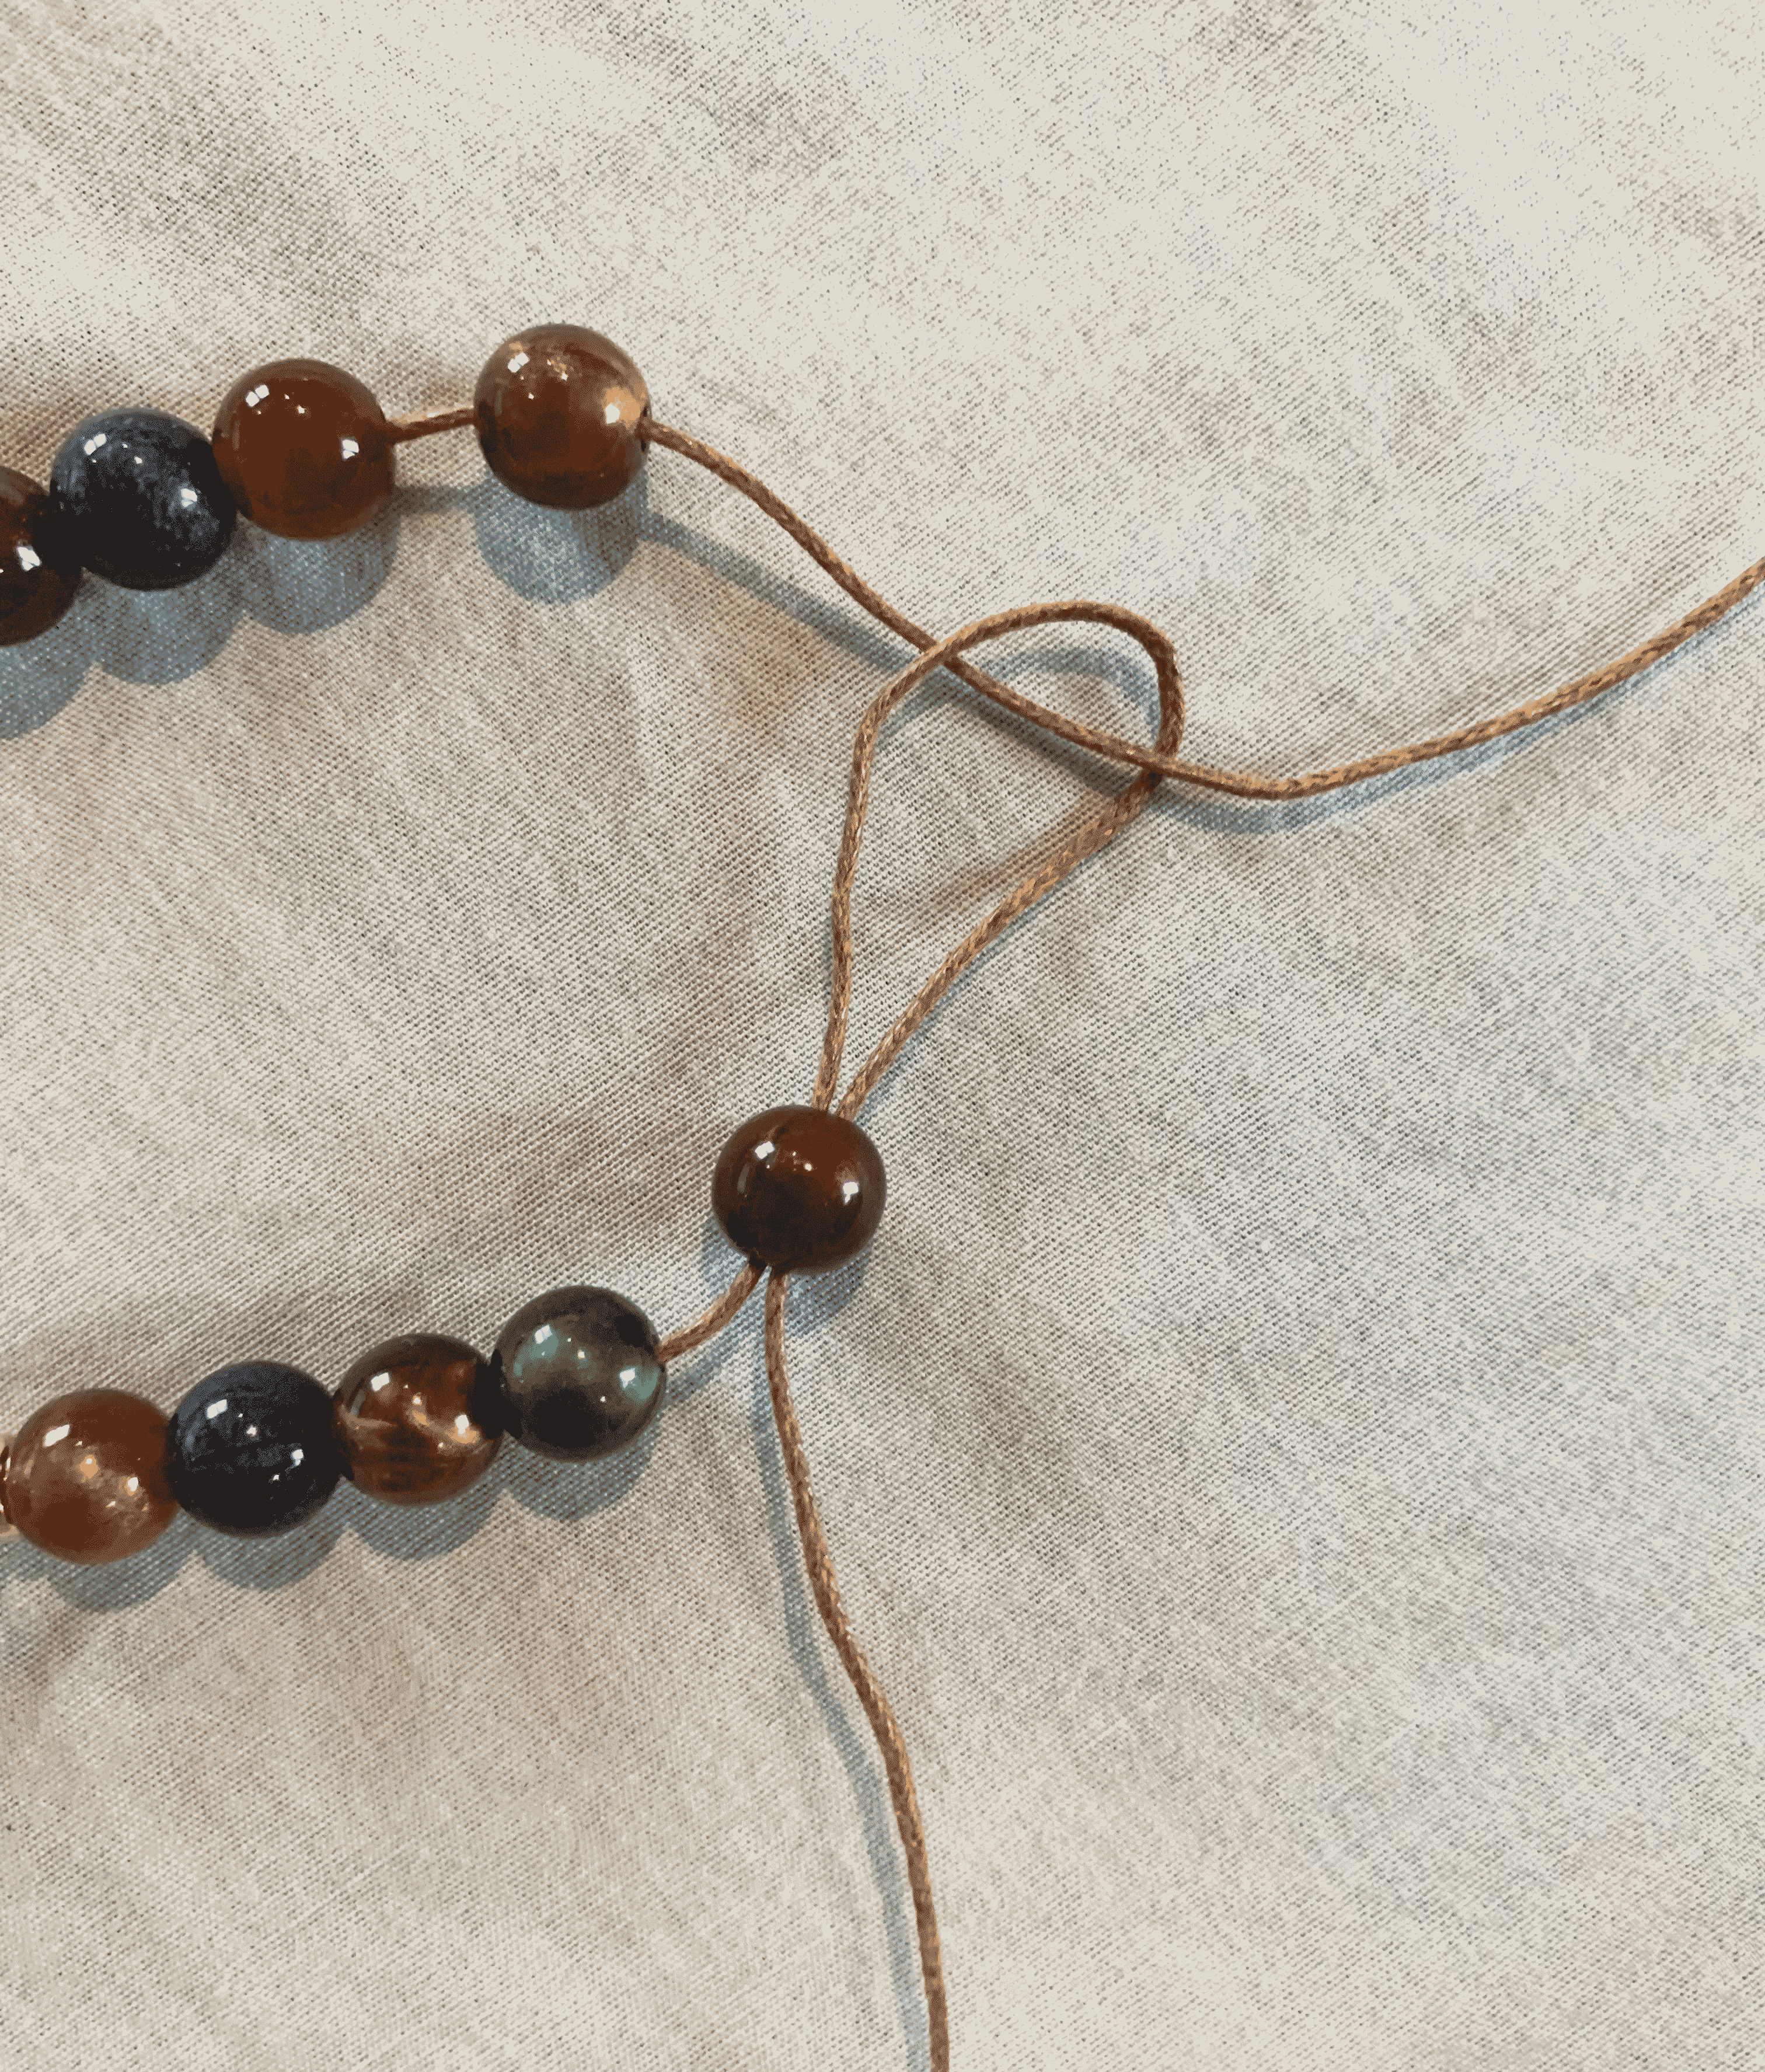
Step 8: Insert the two cut ends through the bottom hole in the centerpiece from front to back.
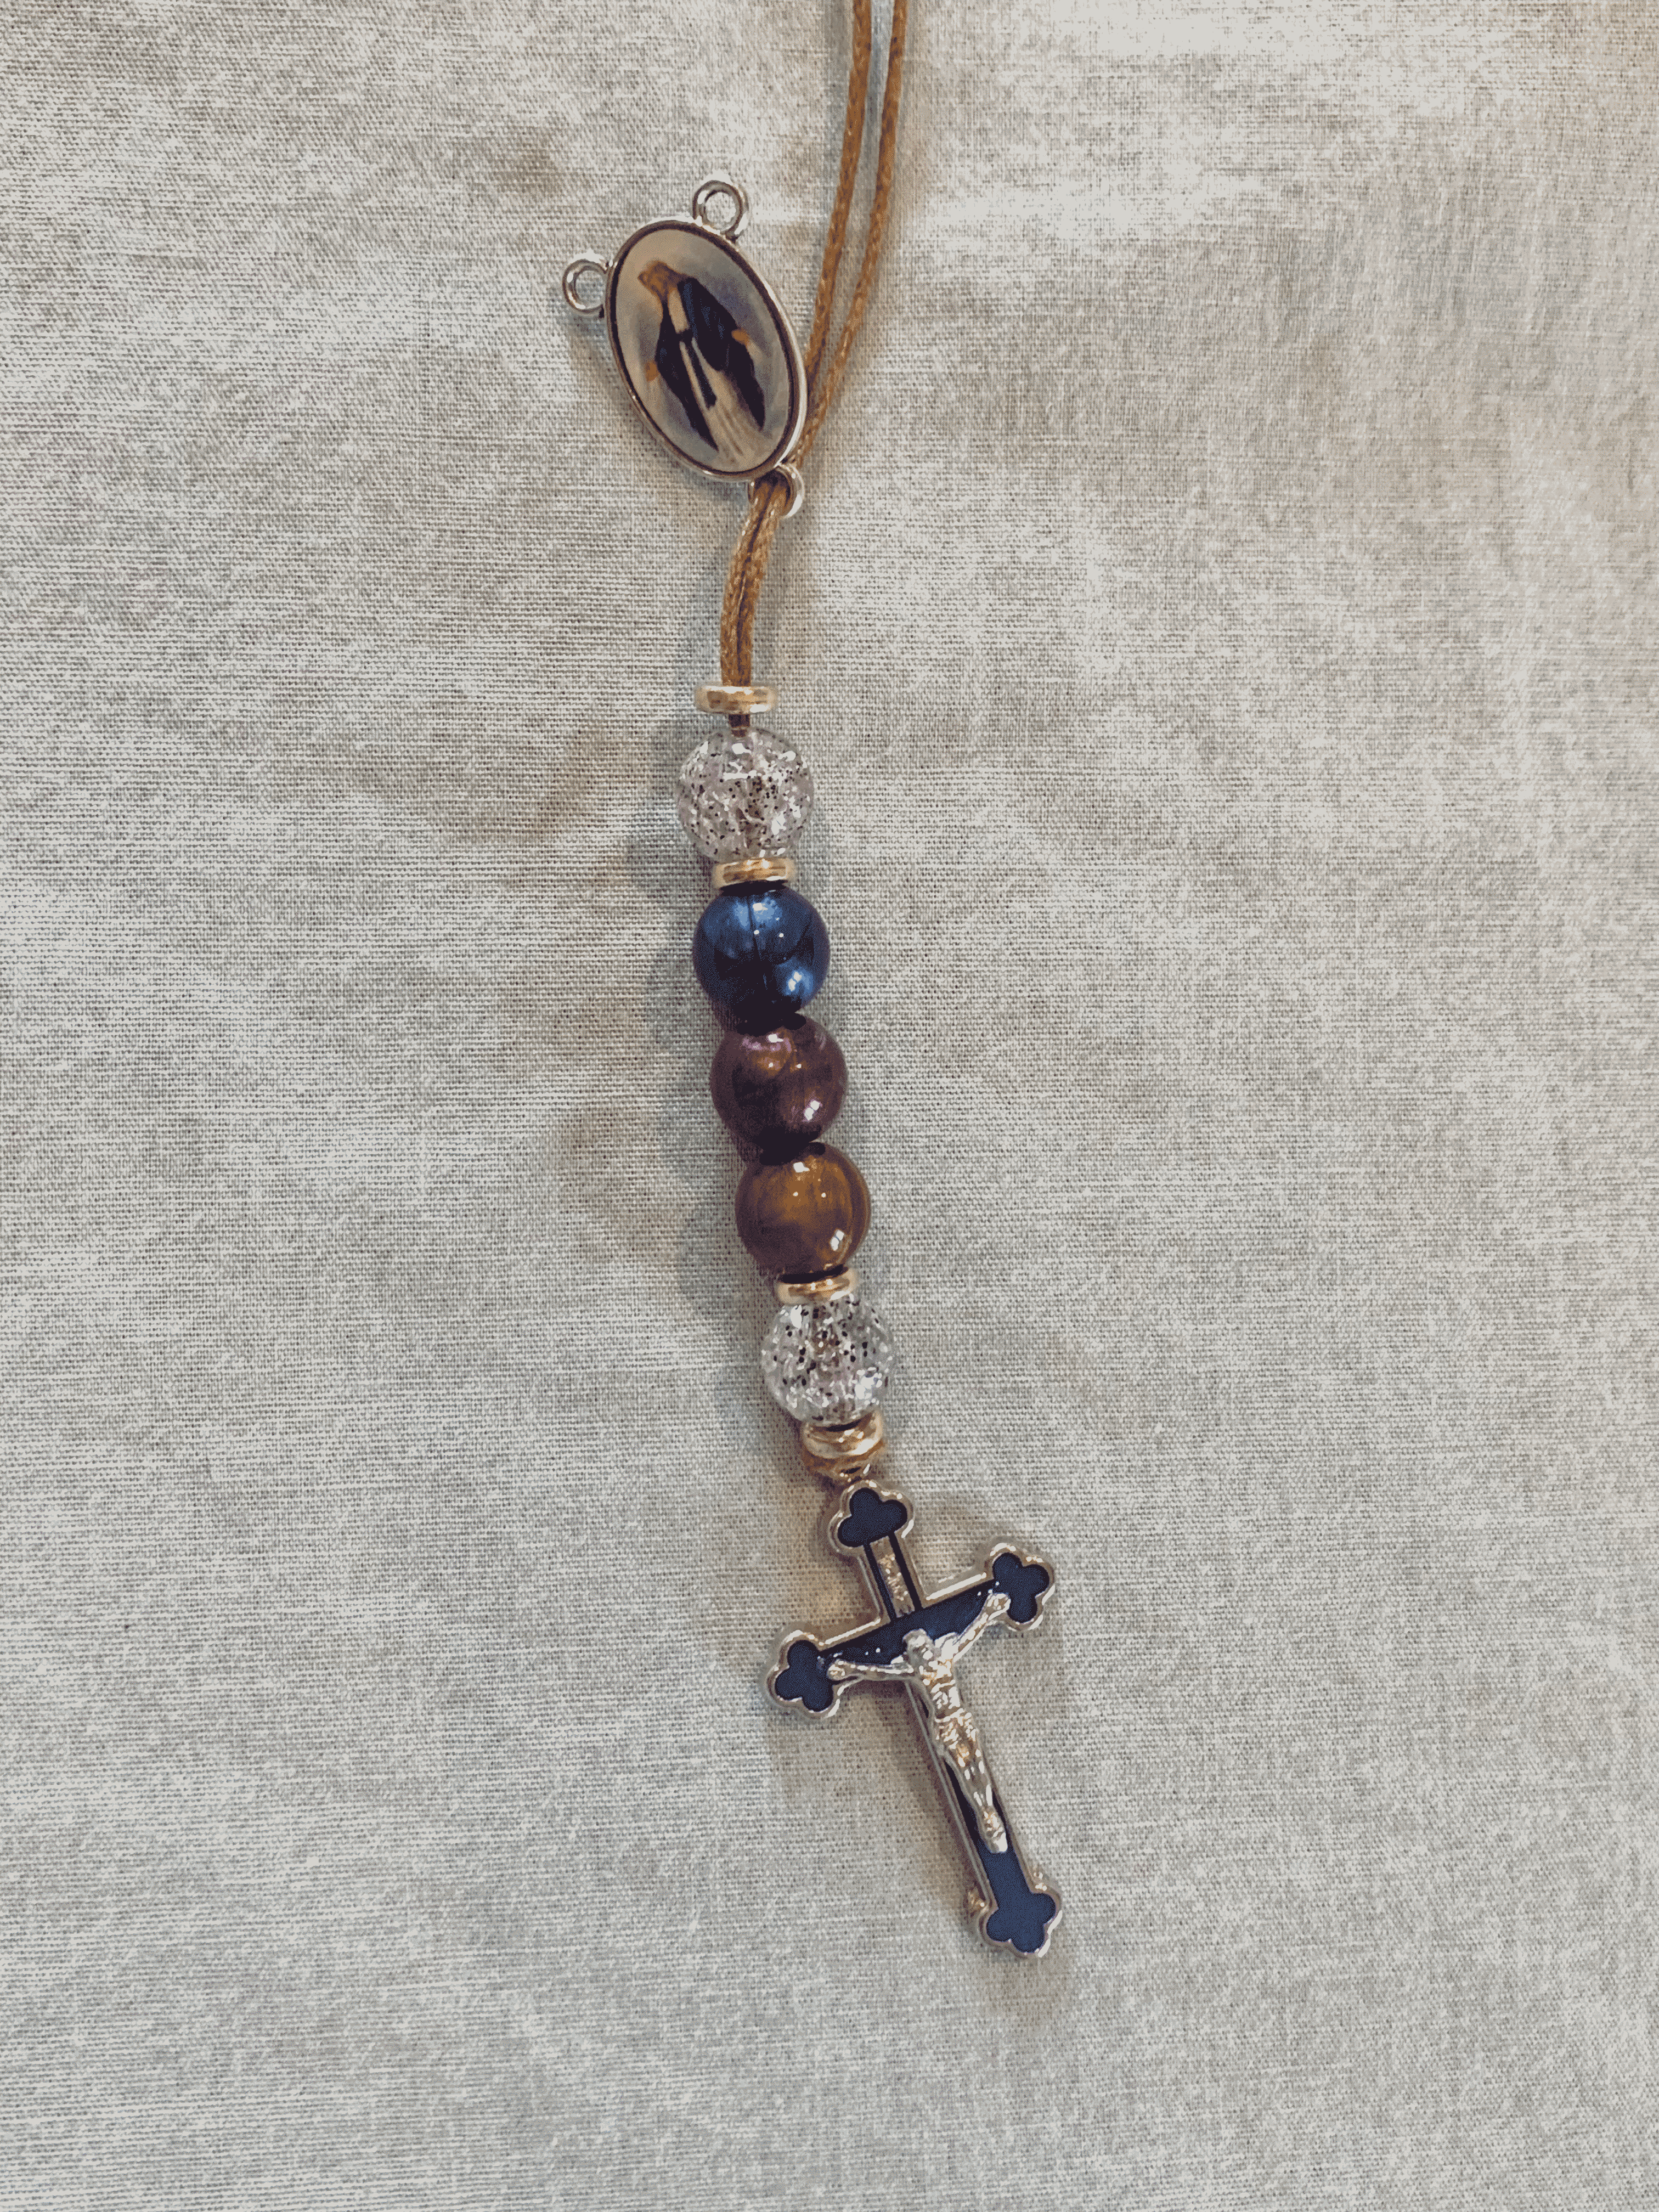
Step 9: Pull the threads to tighten and loop the two ends around your finger. Then, insert the two ends through the loop and pull to tighten. Make sure the knot is in between the spacer bead and the centerpiece. Repeat to make another knot.
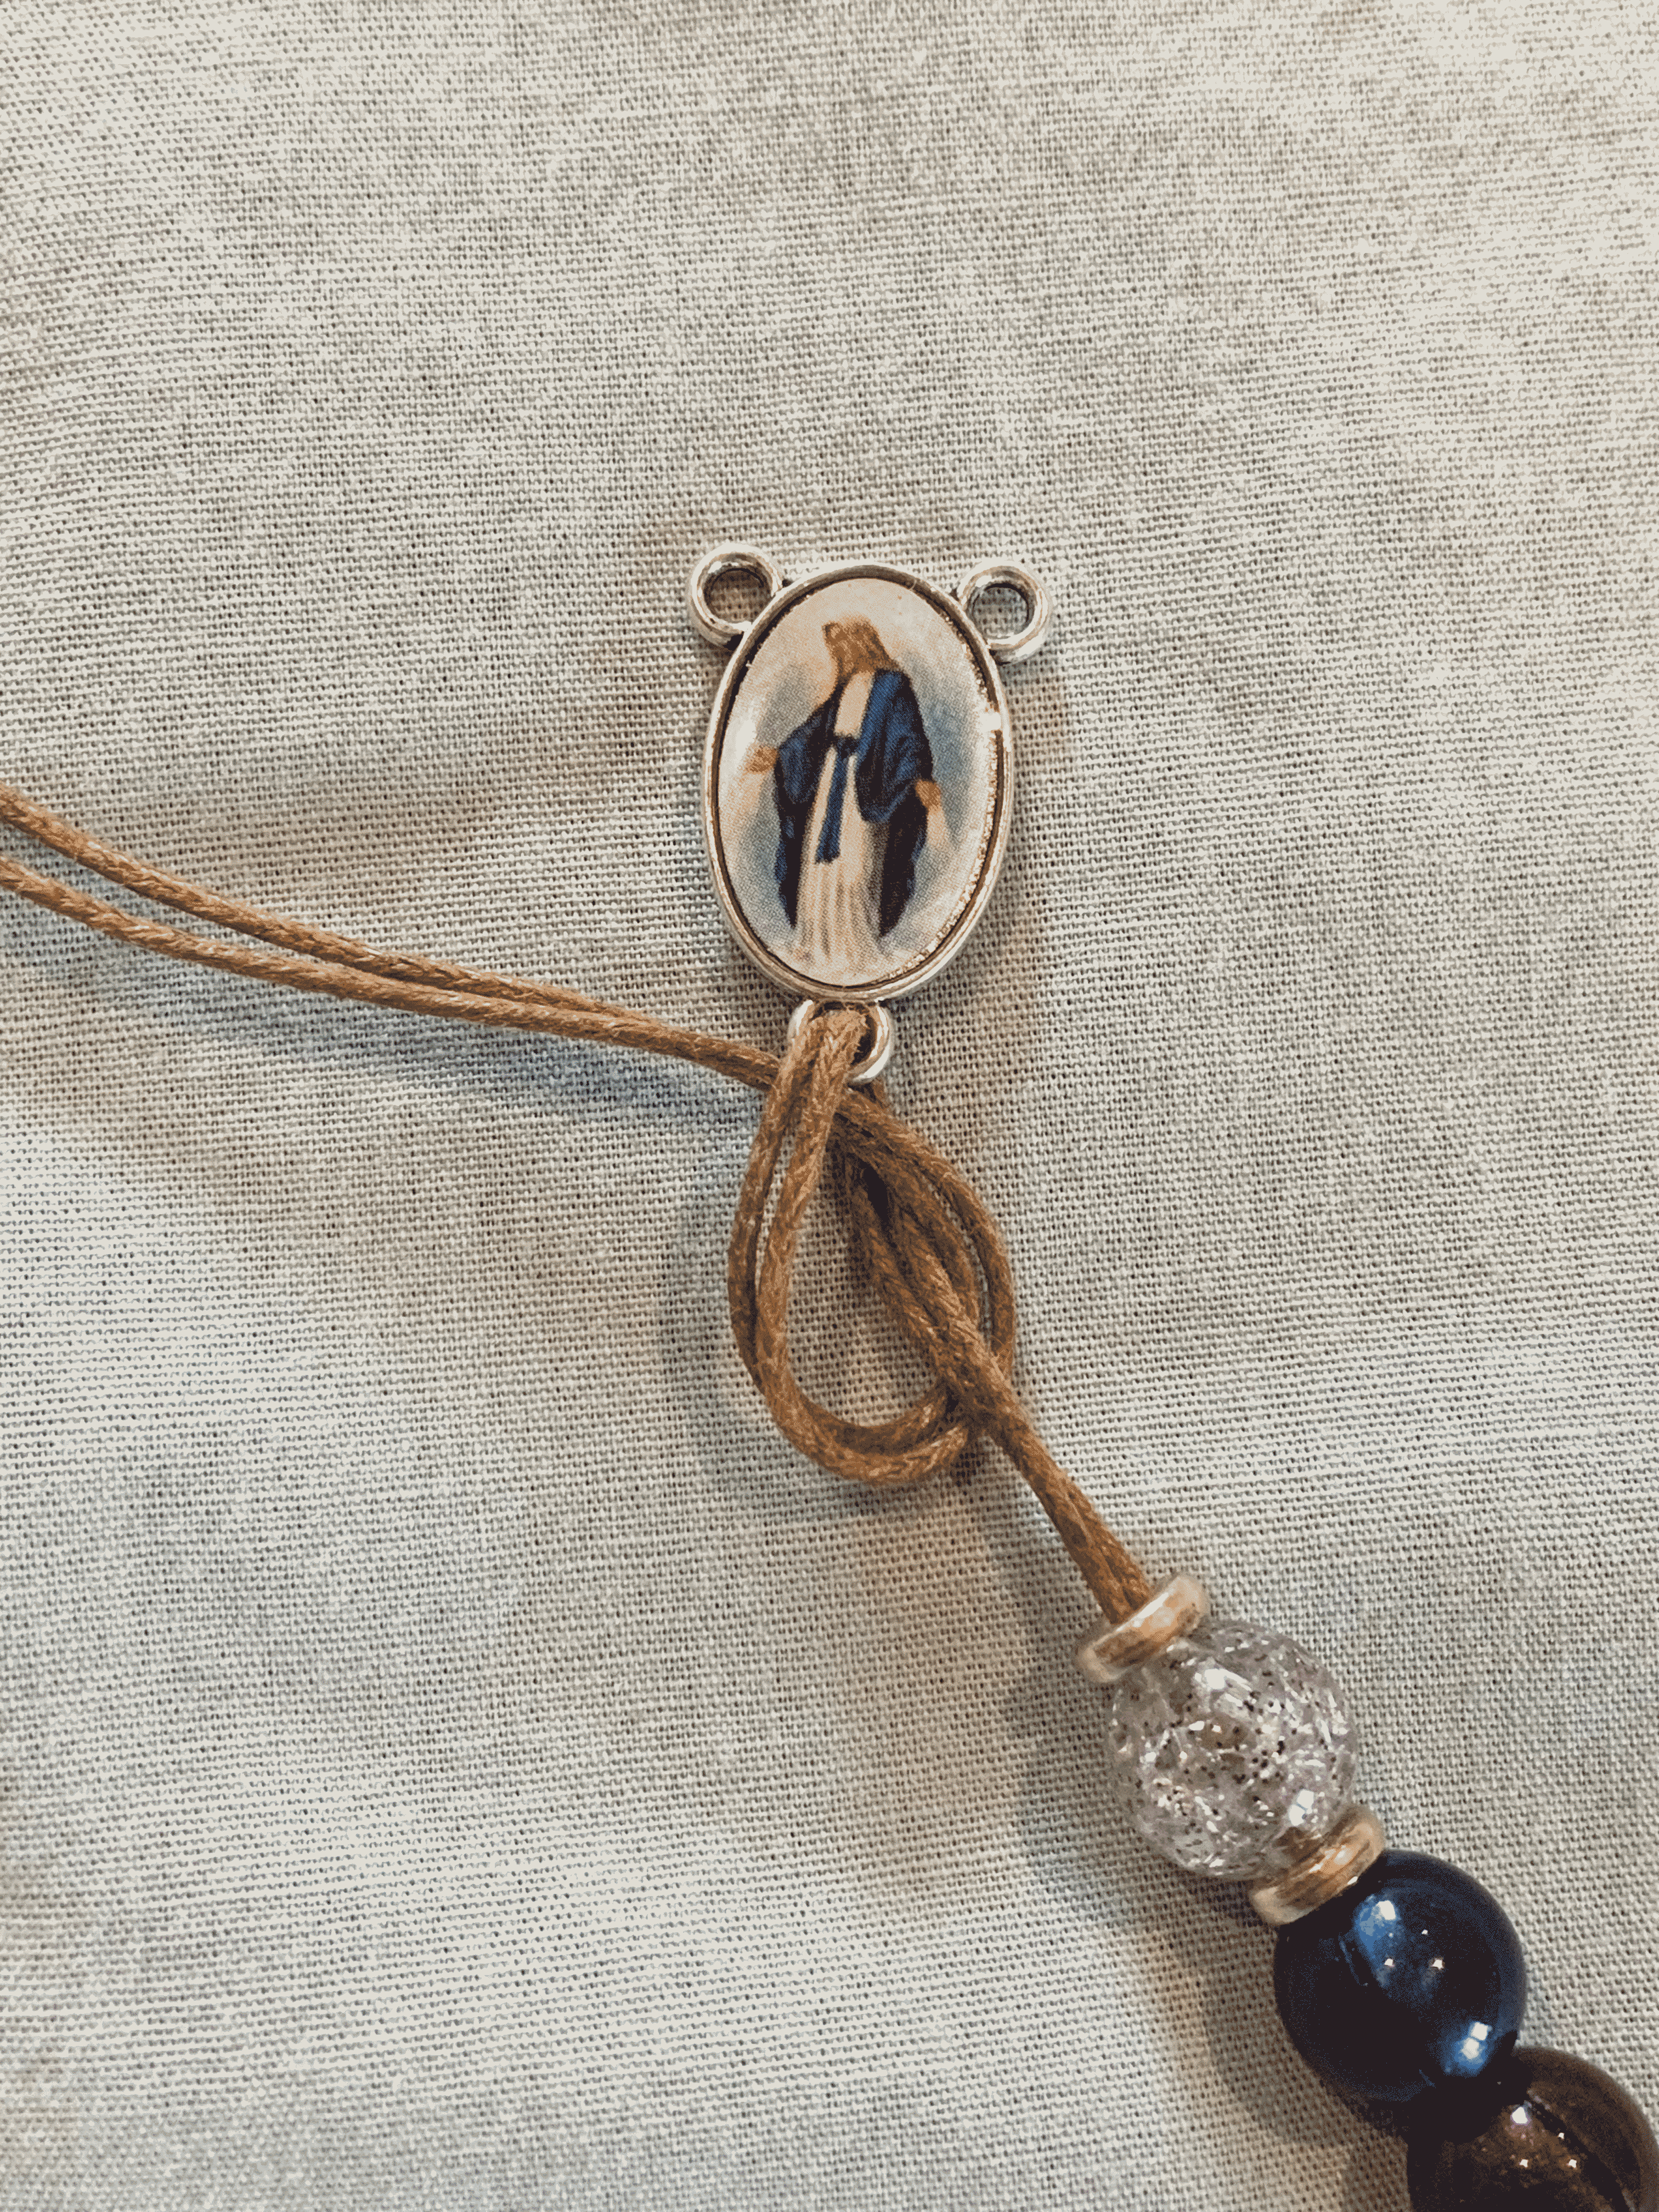
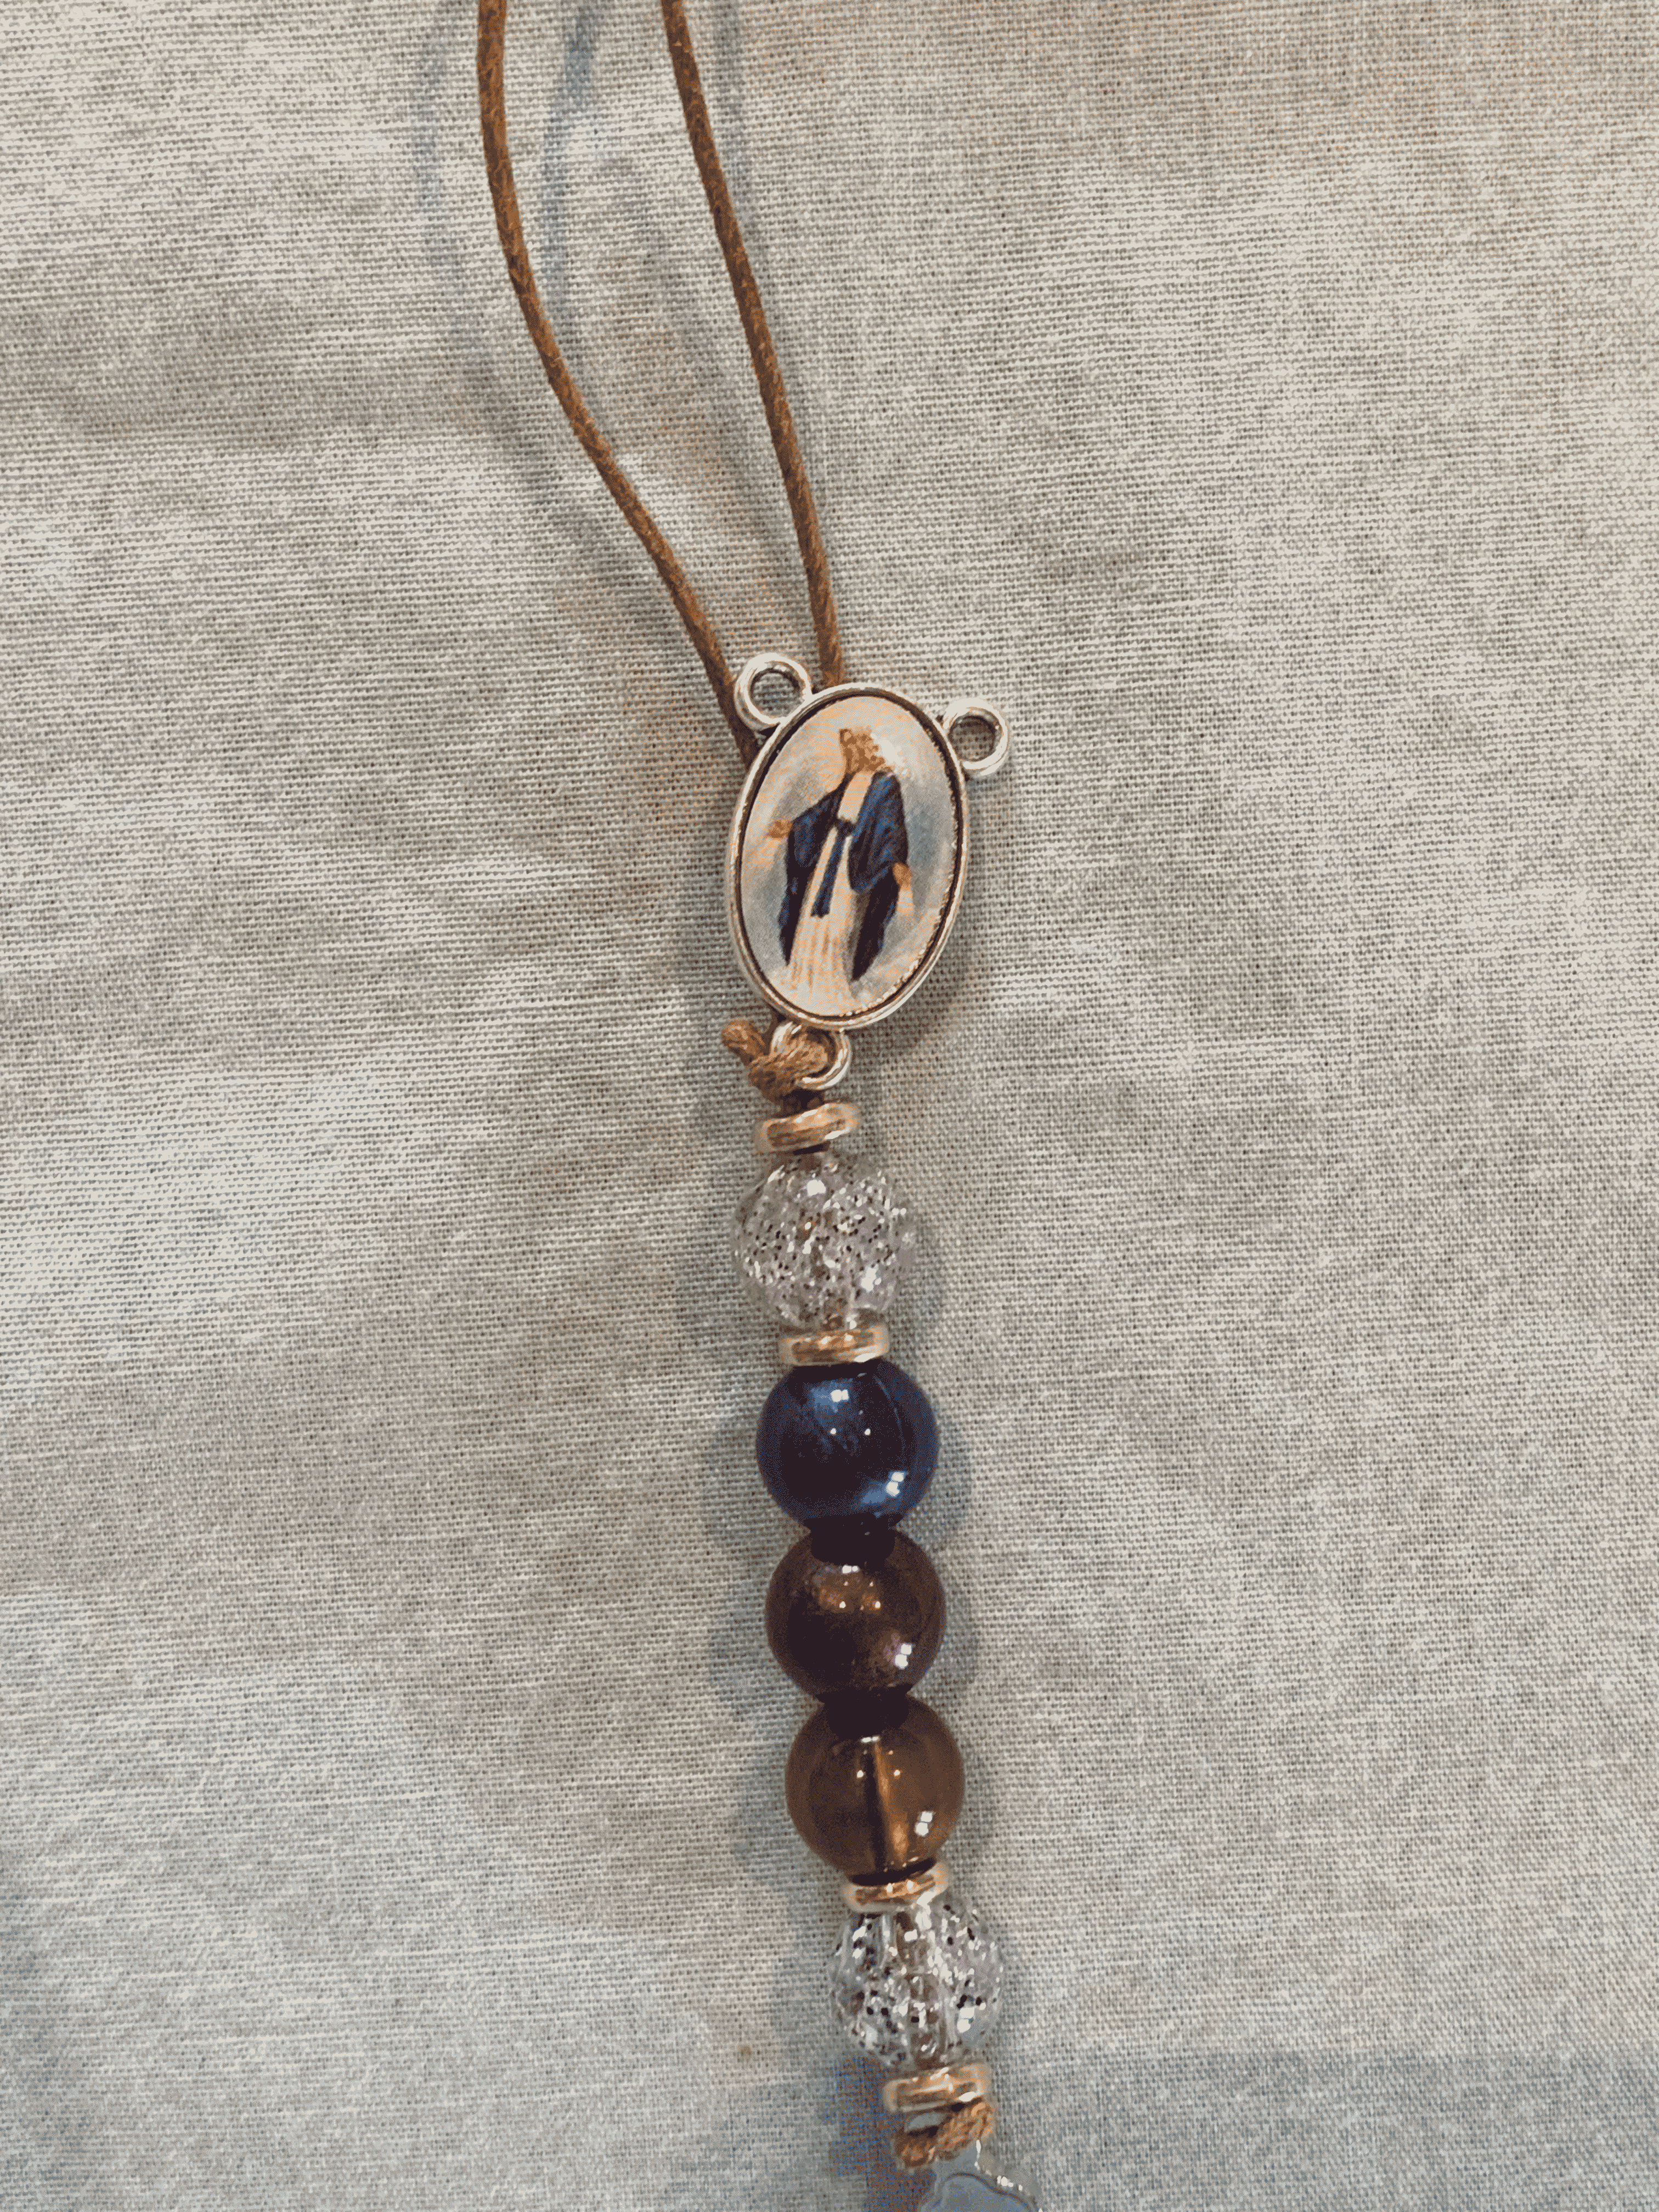
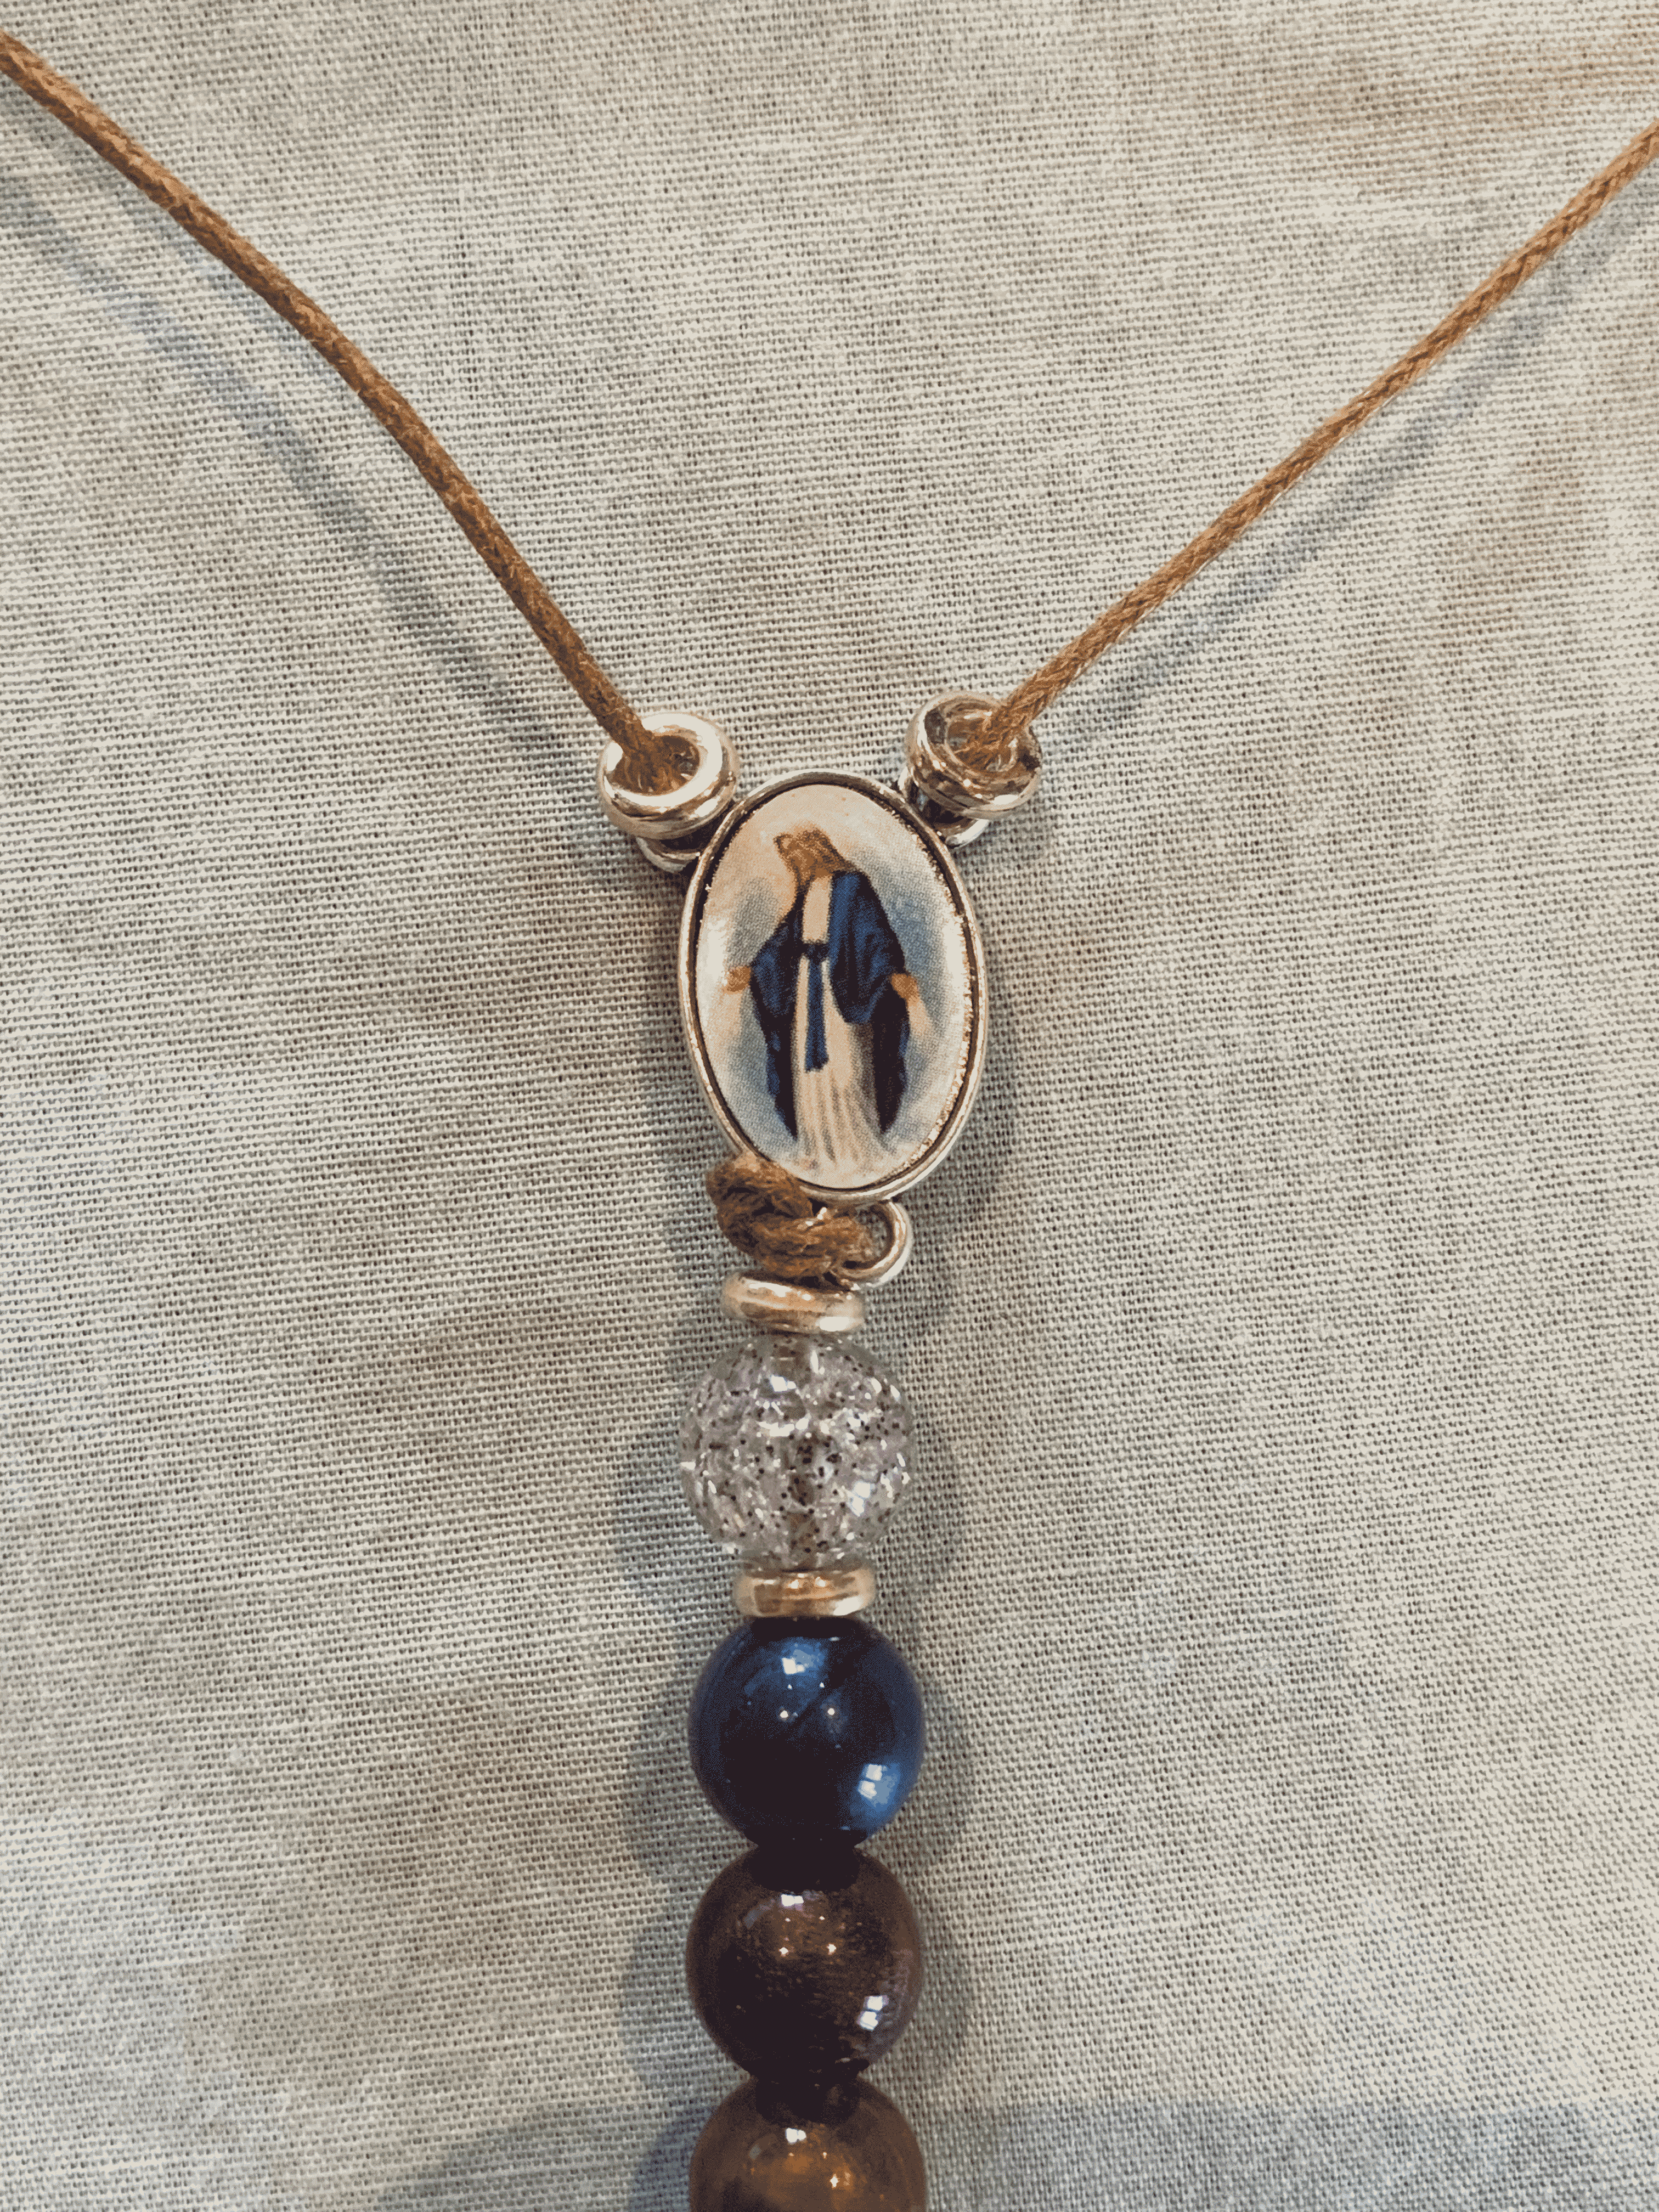
Step 10: Split the ends apart, and bring each one through their respective hole at the top of the centerpiece, from back to front.
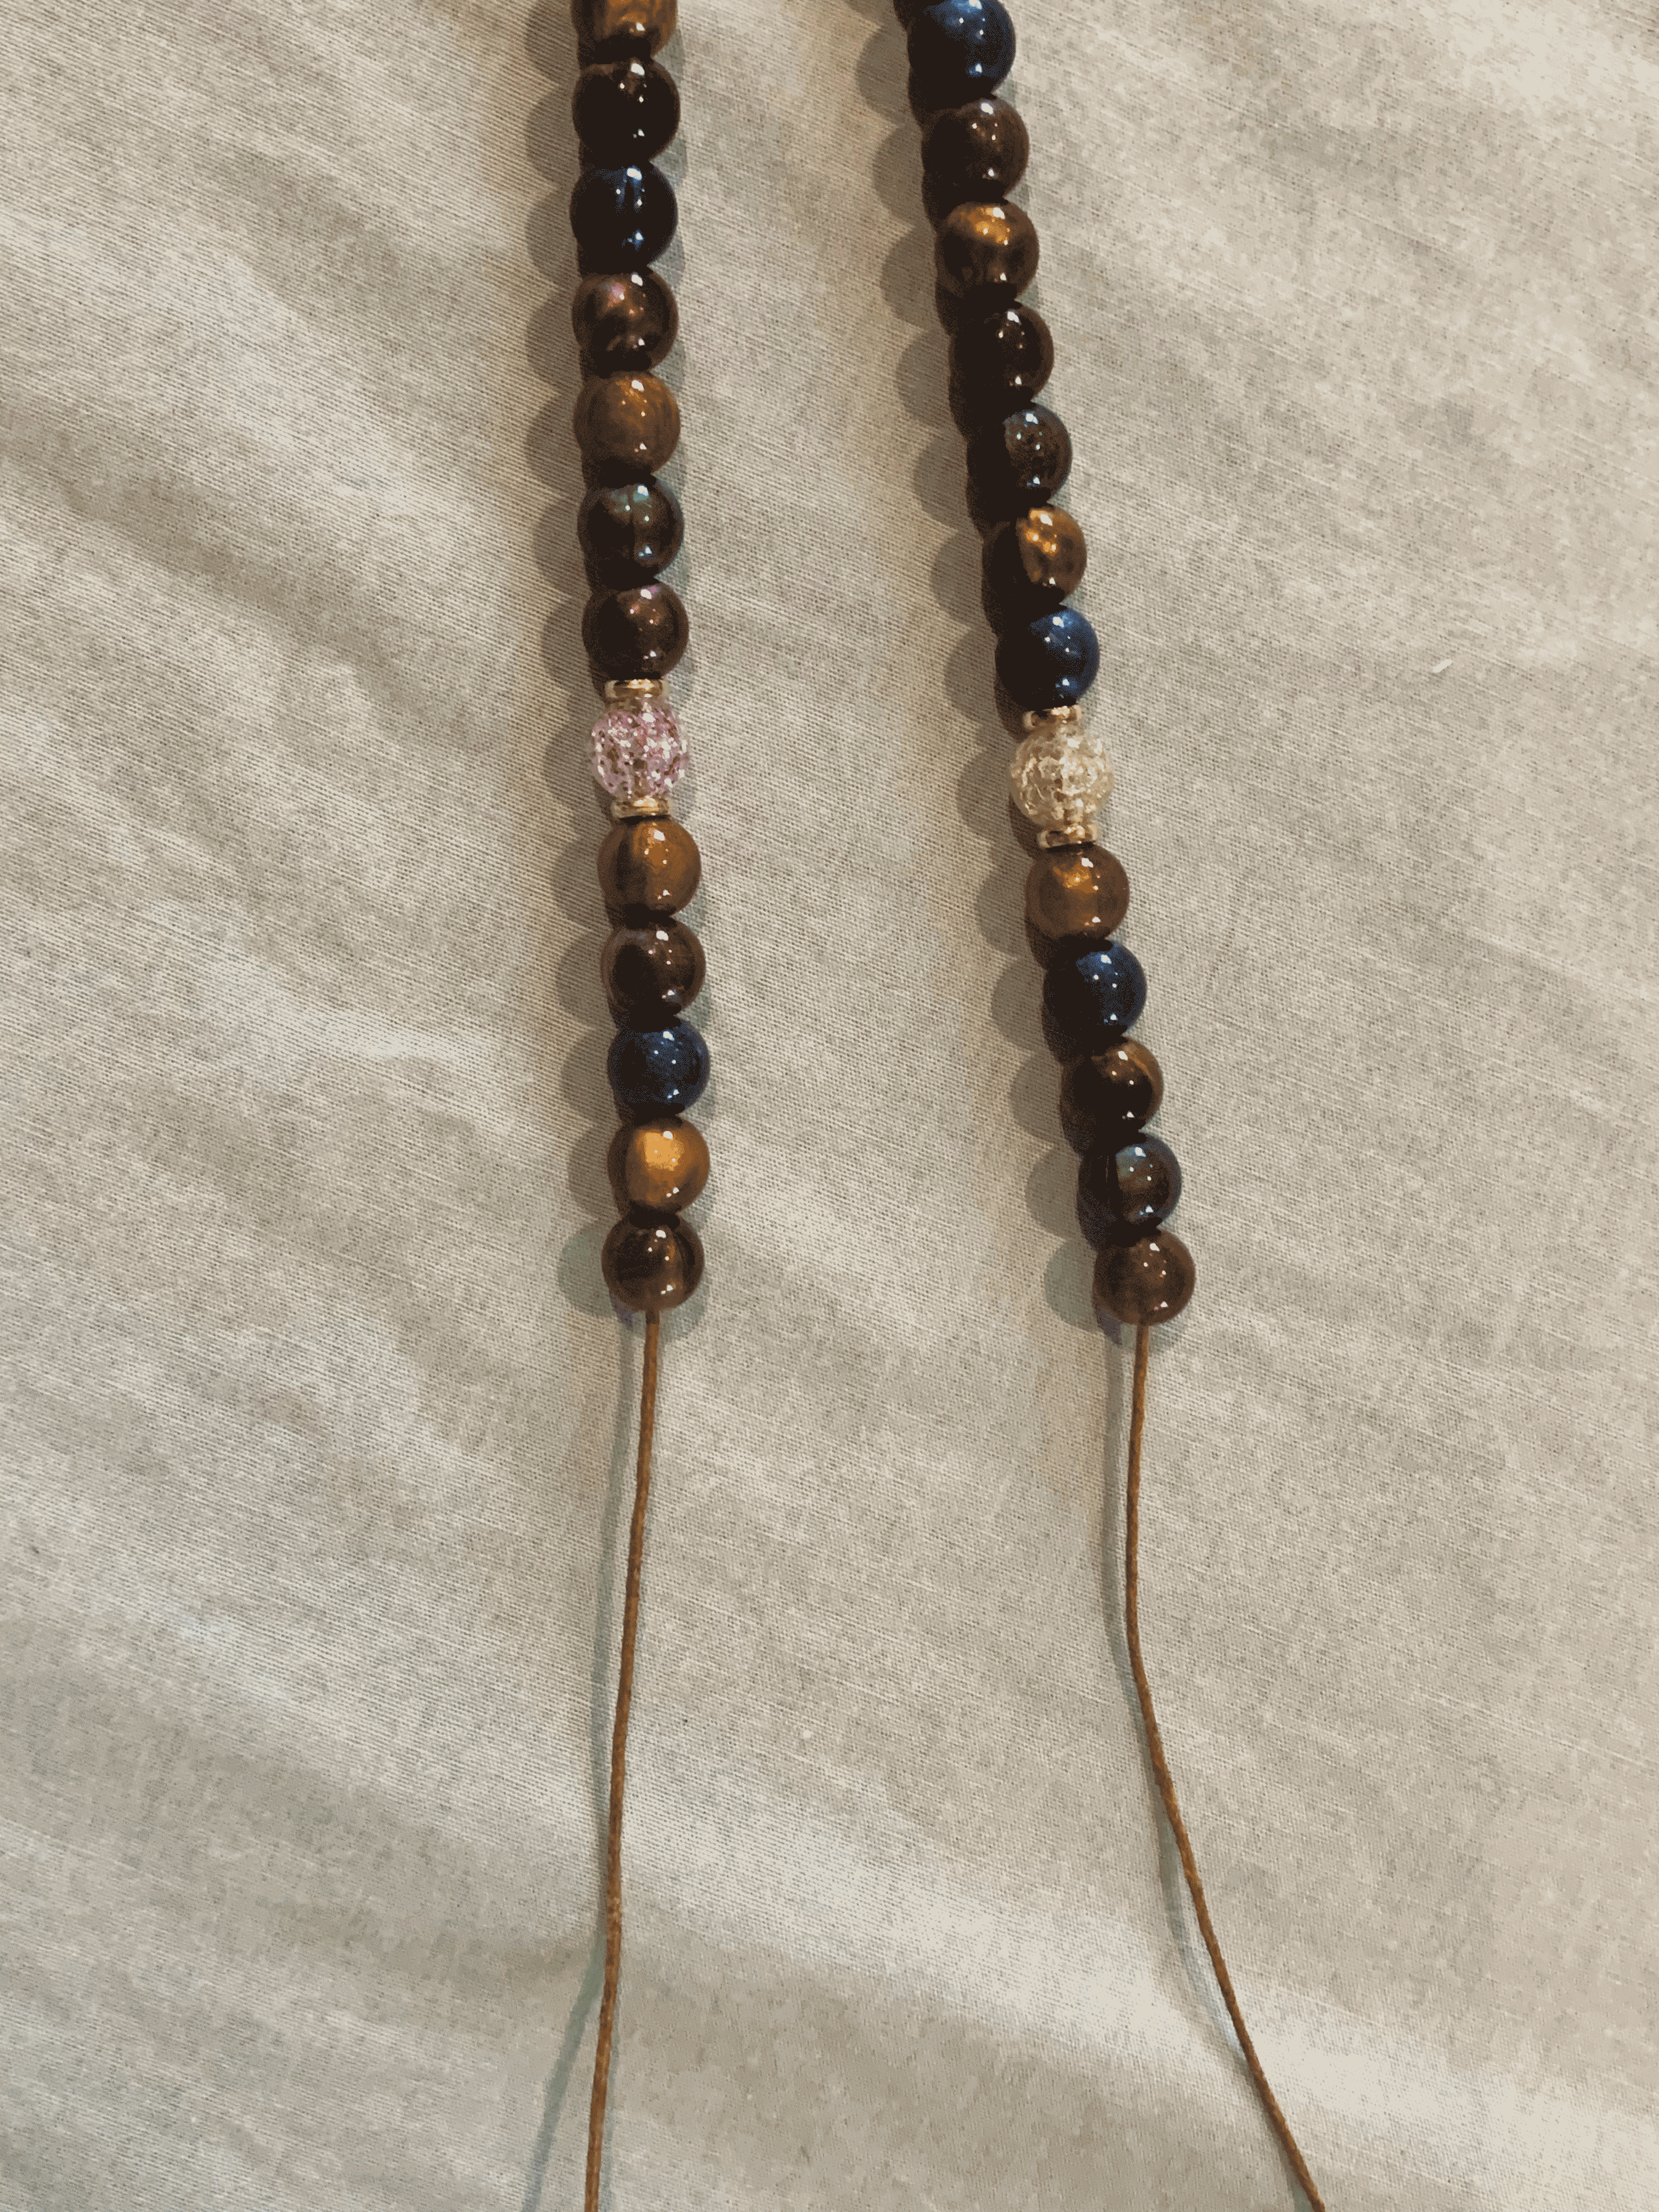
Step 11: Put the beads in this order on each thread:


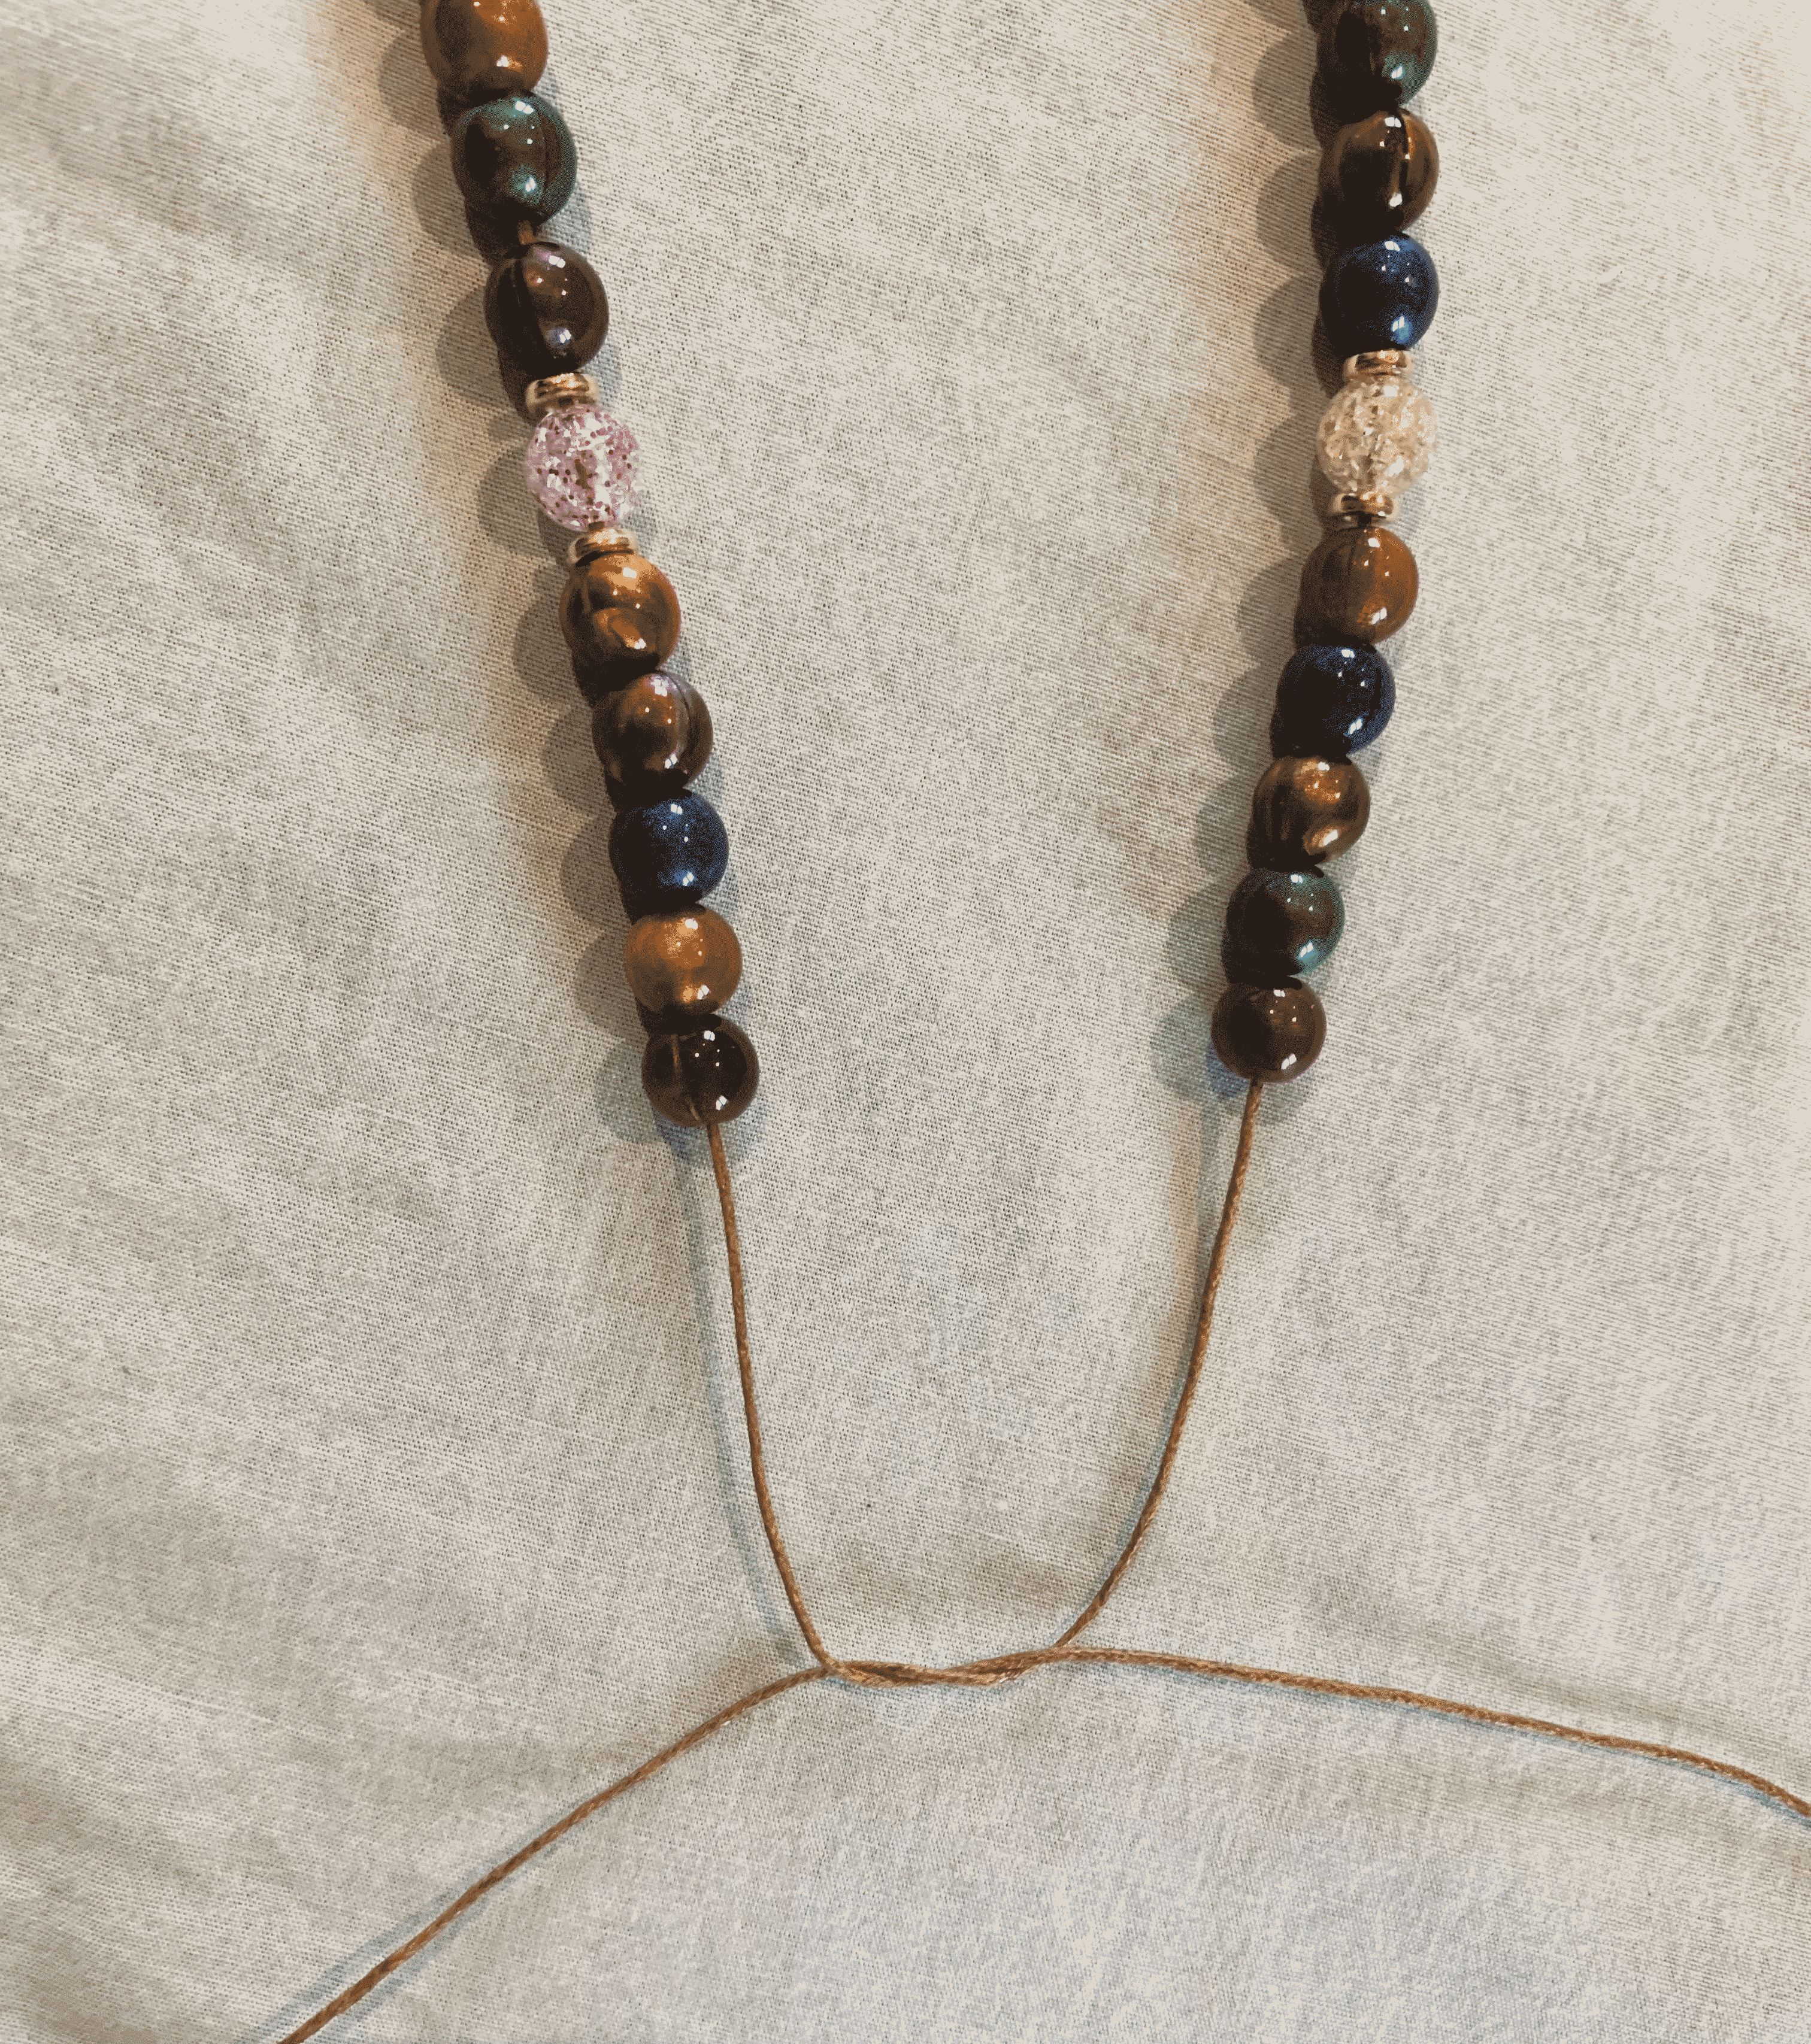
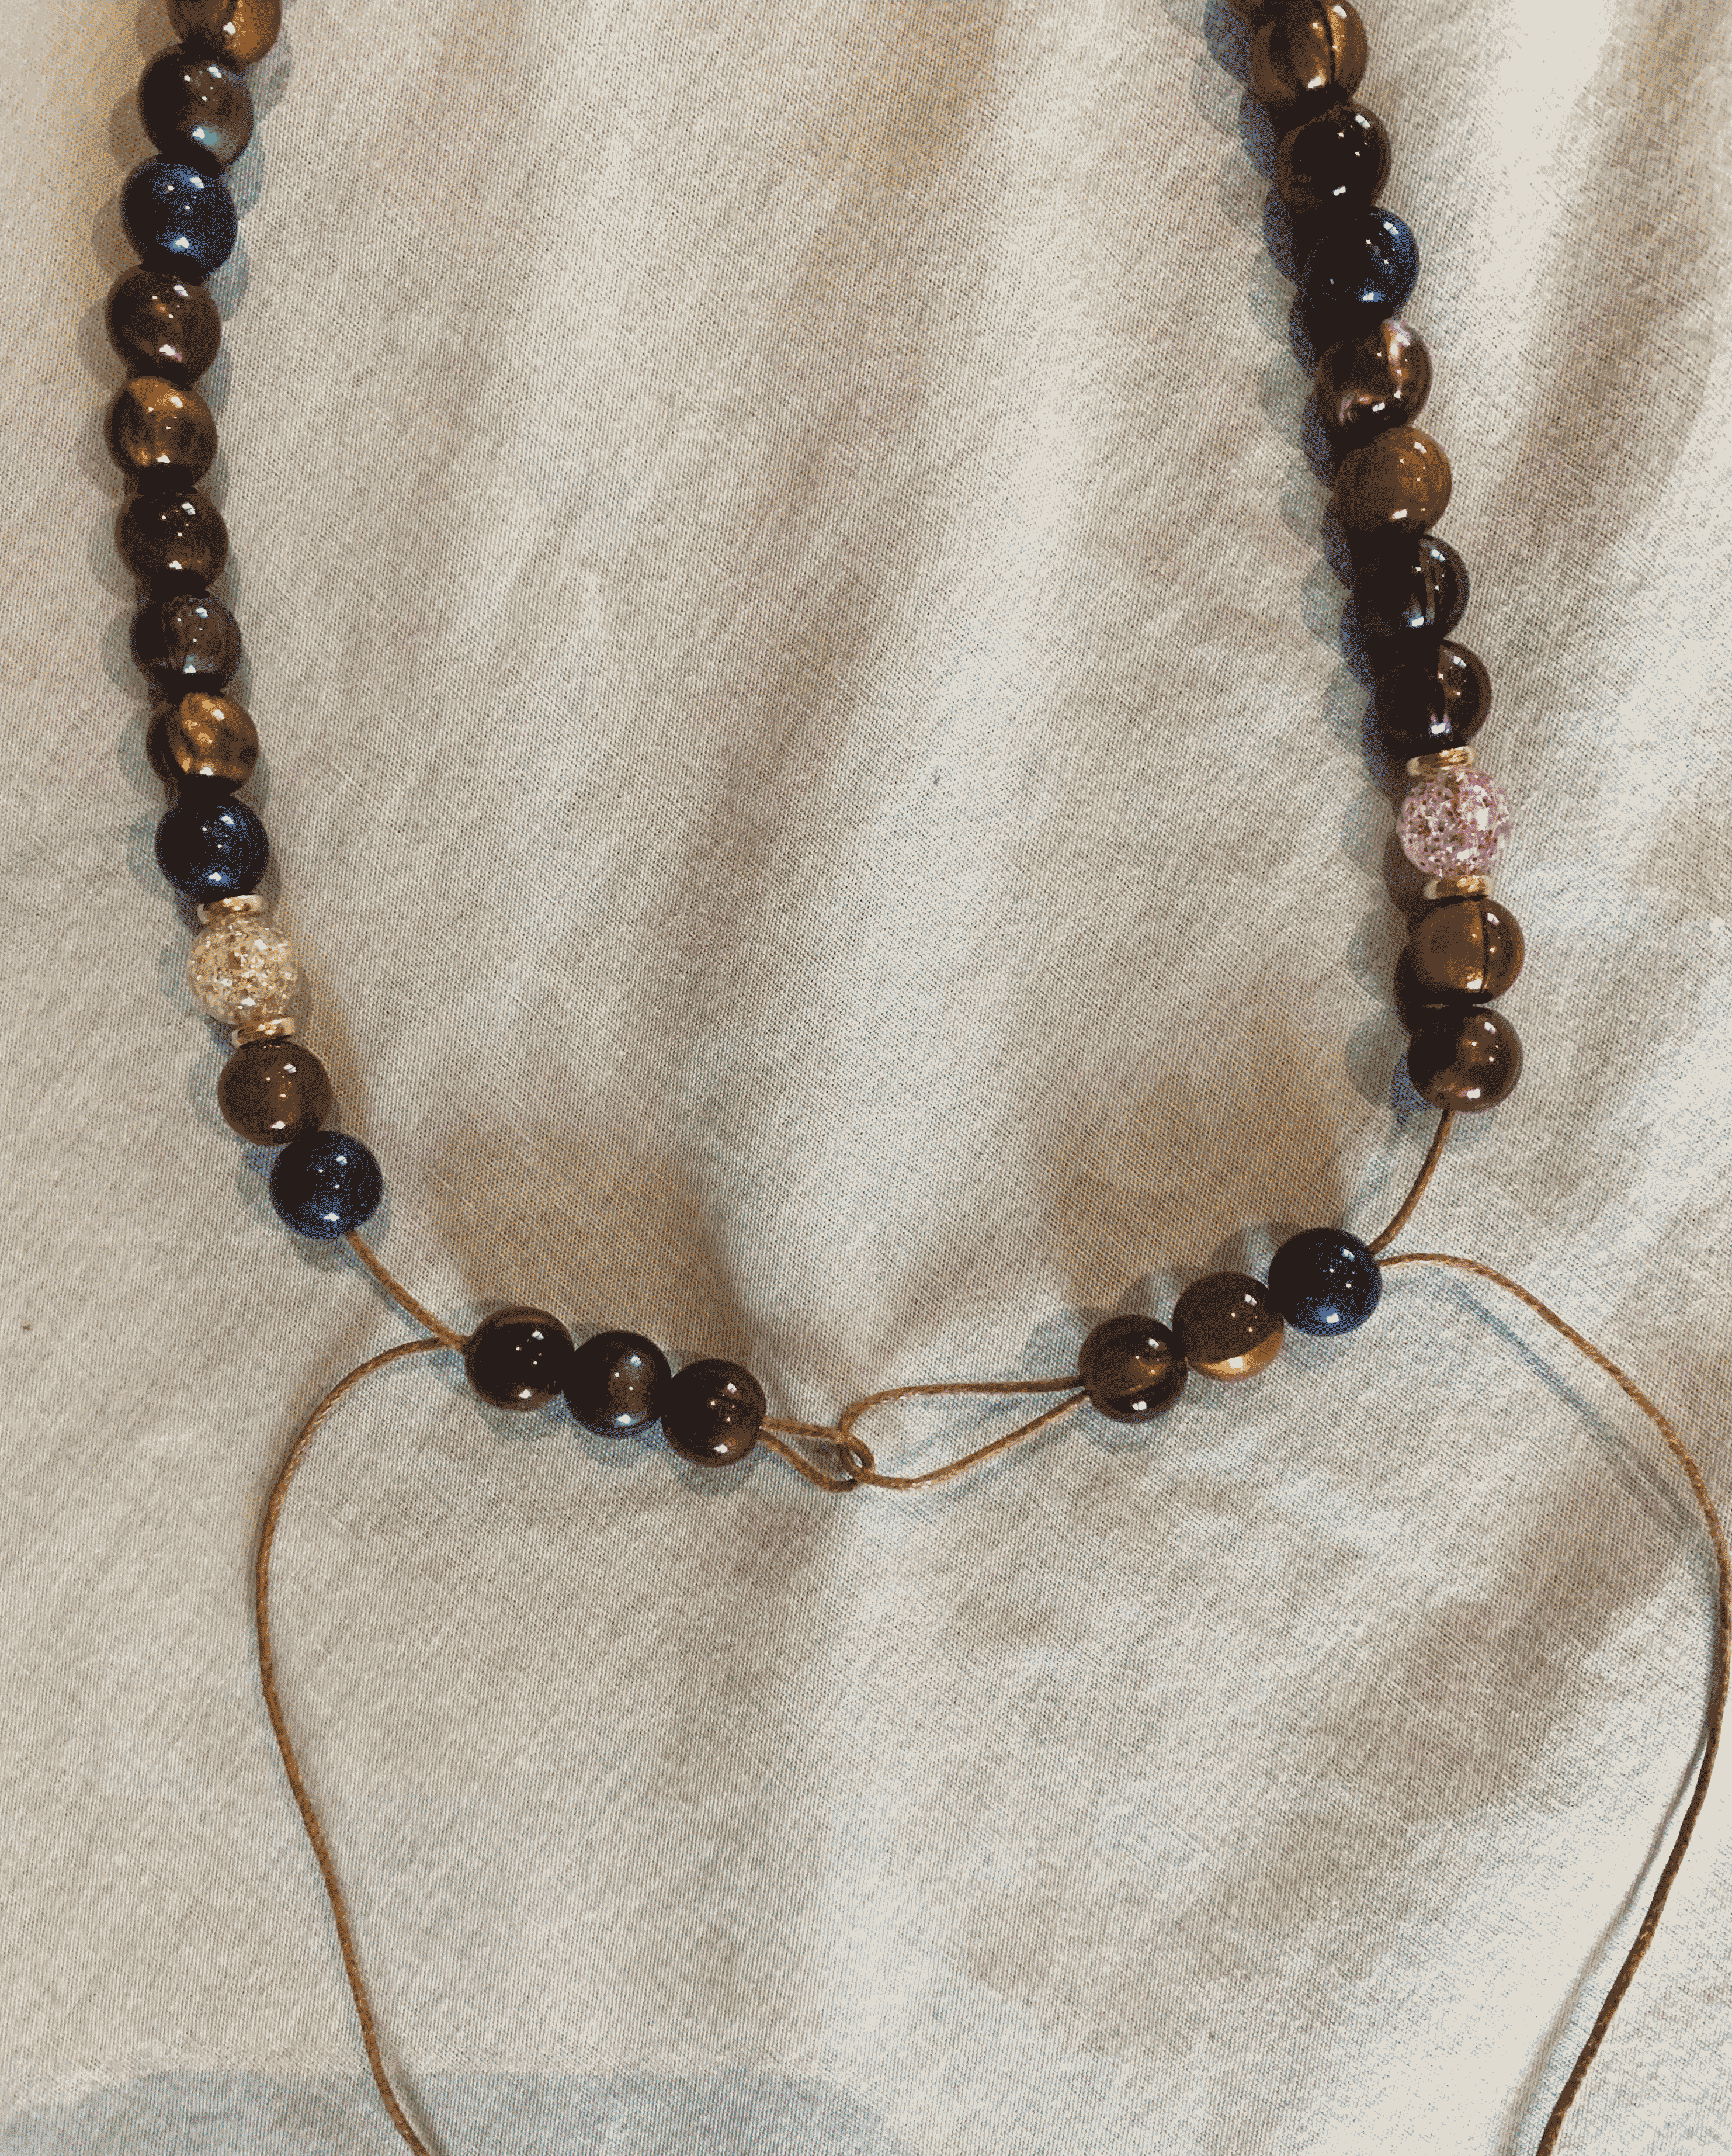
Step 12: Tie a single left over right knot with the two threads to bring the two sides together.
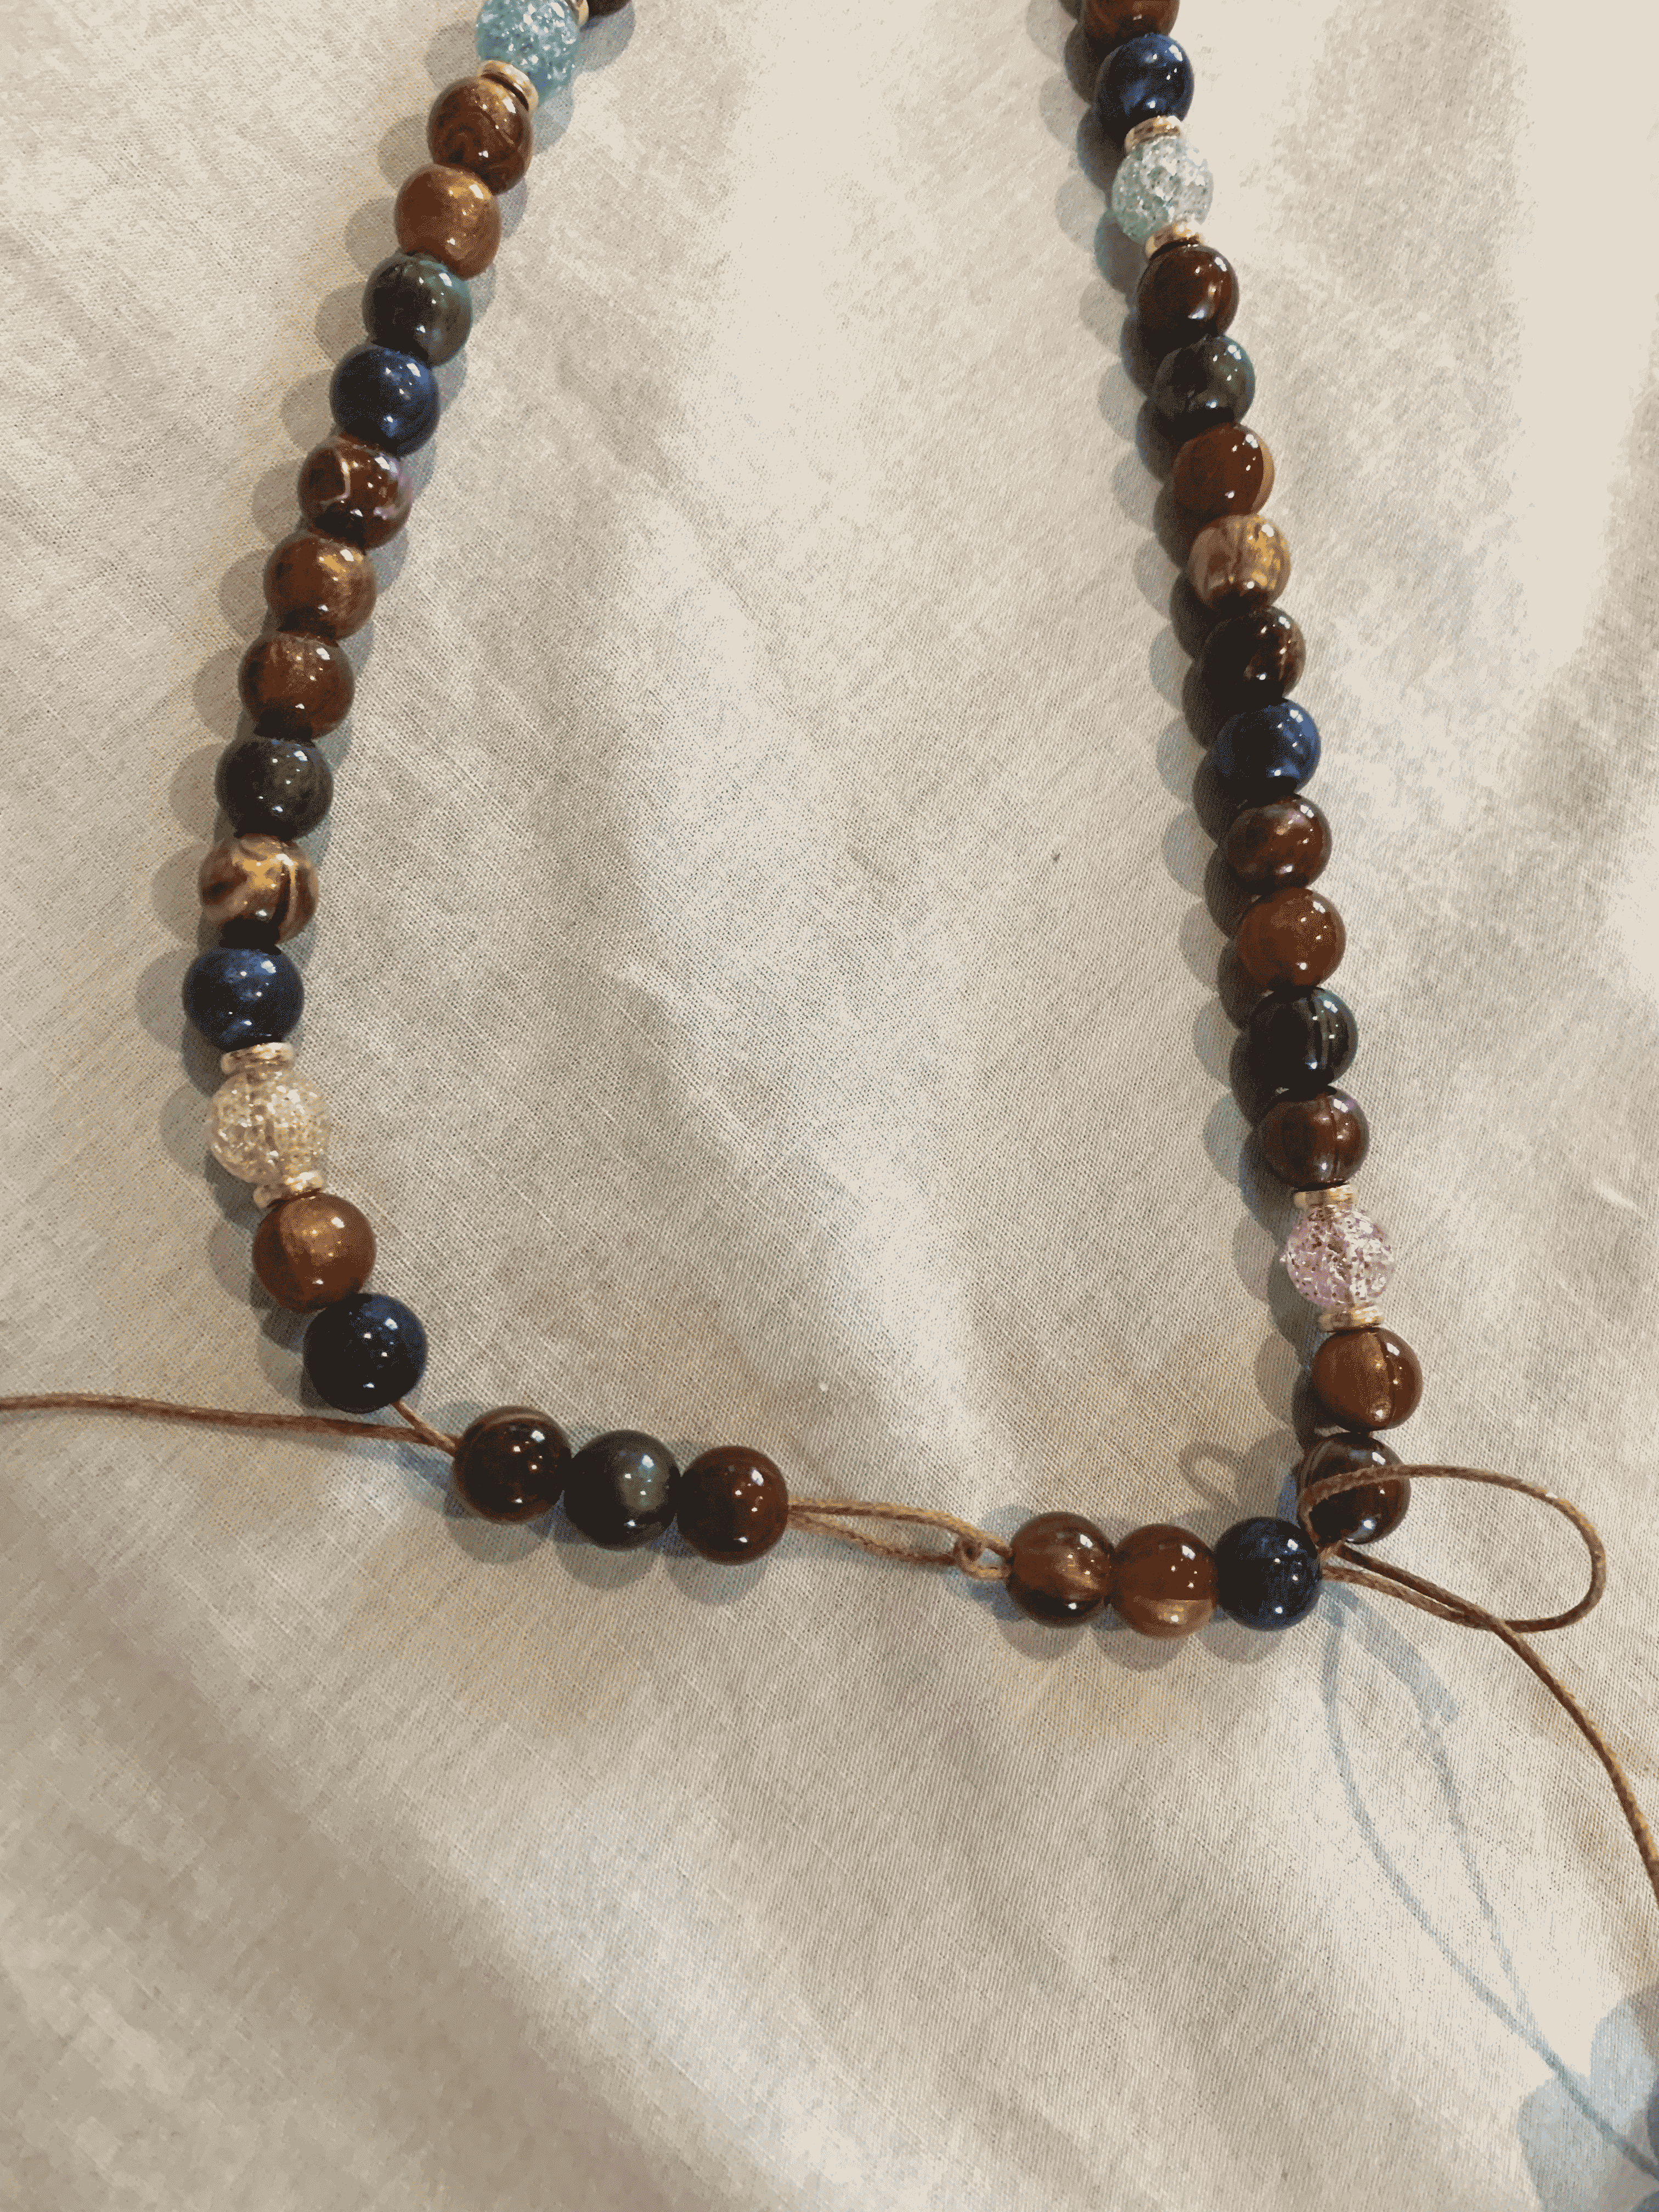
Step 13: Insert the left thread through three beads on the right so that they are double threaded. Repeat with the other side.
Step 14: While gently pulling the left thread, tie two knots with the right thread. Repeat with the left.

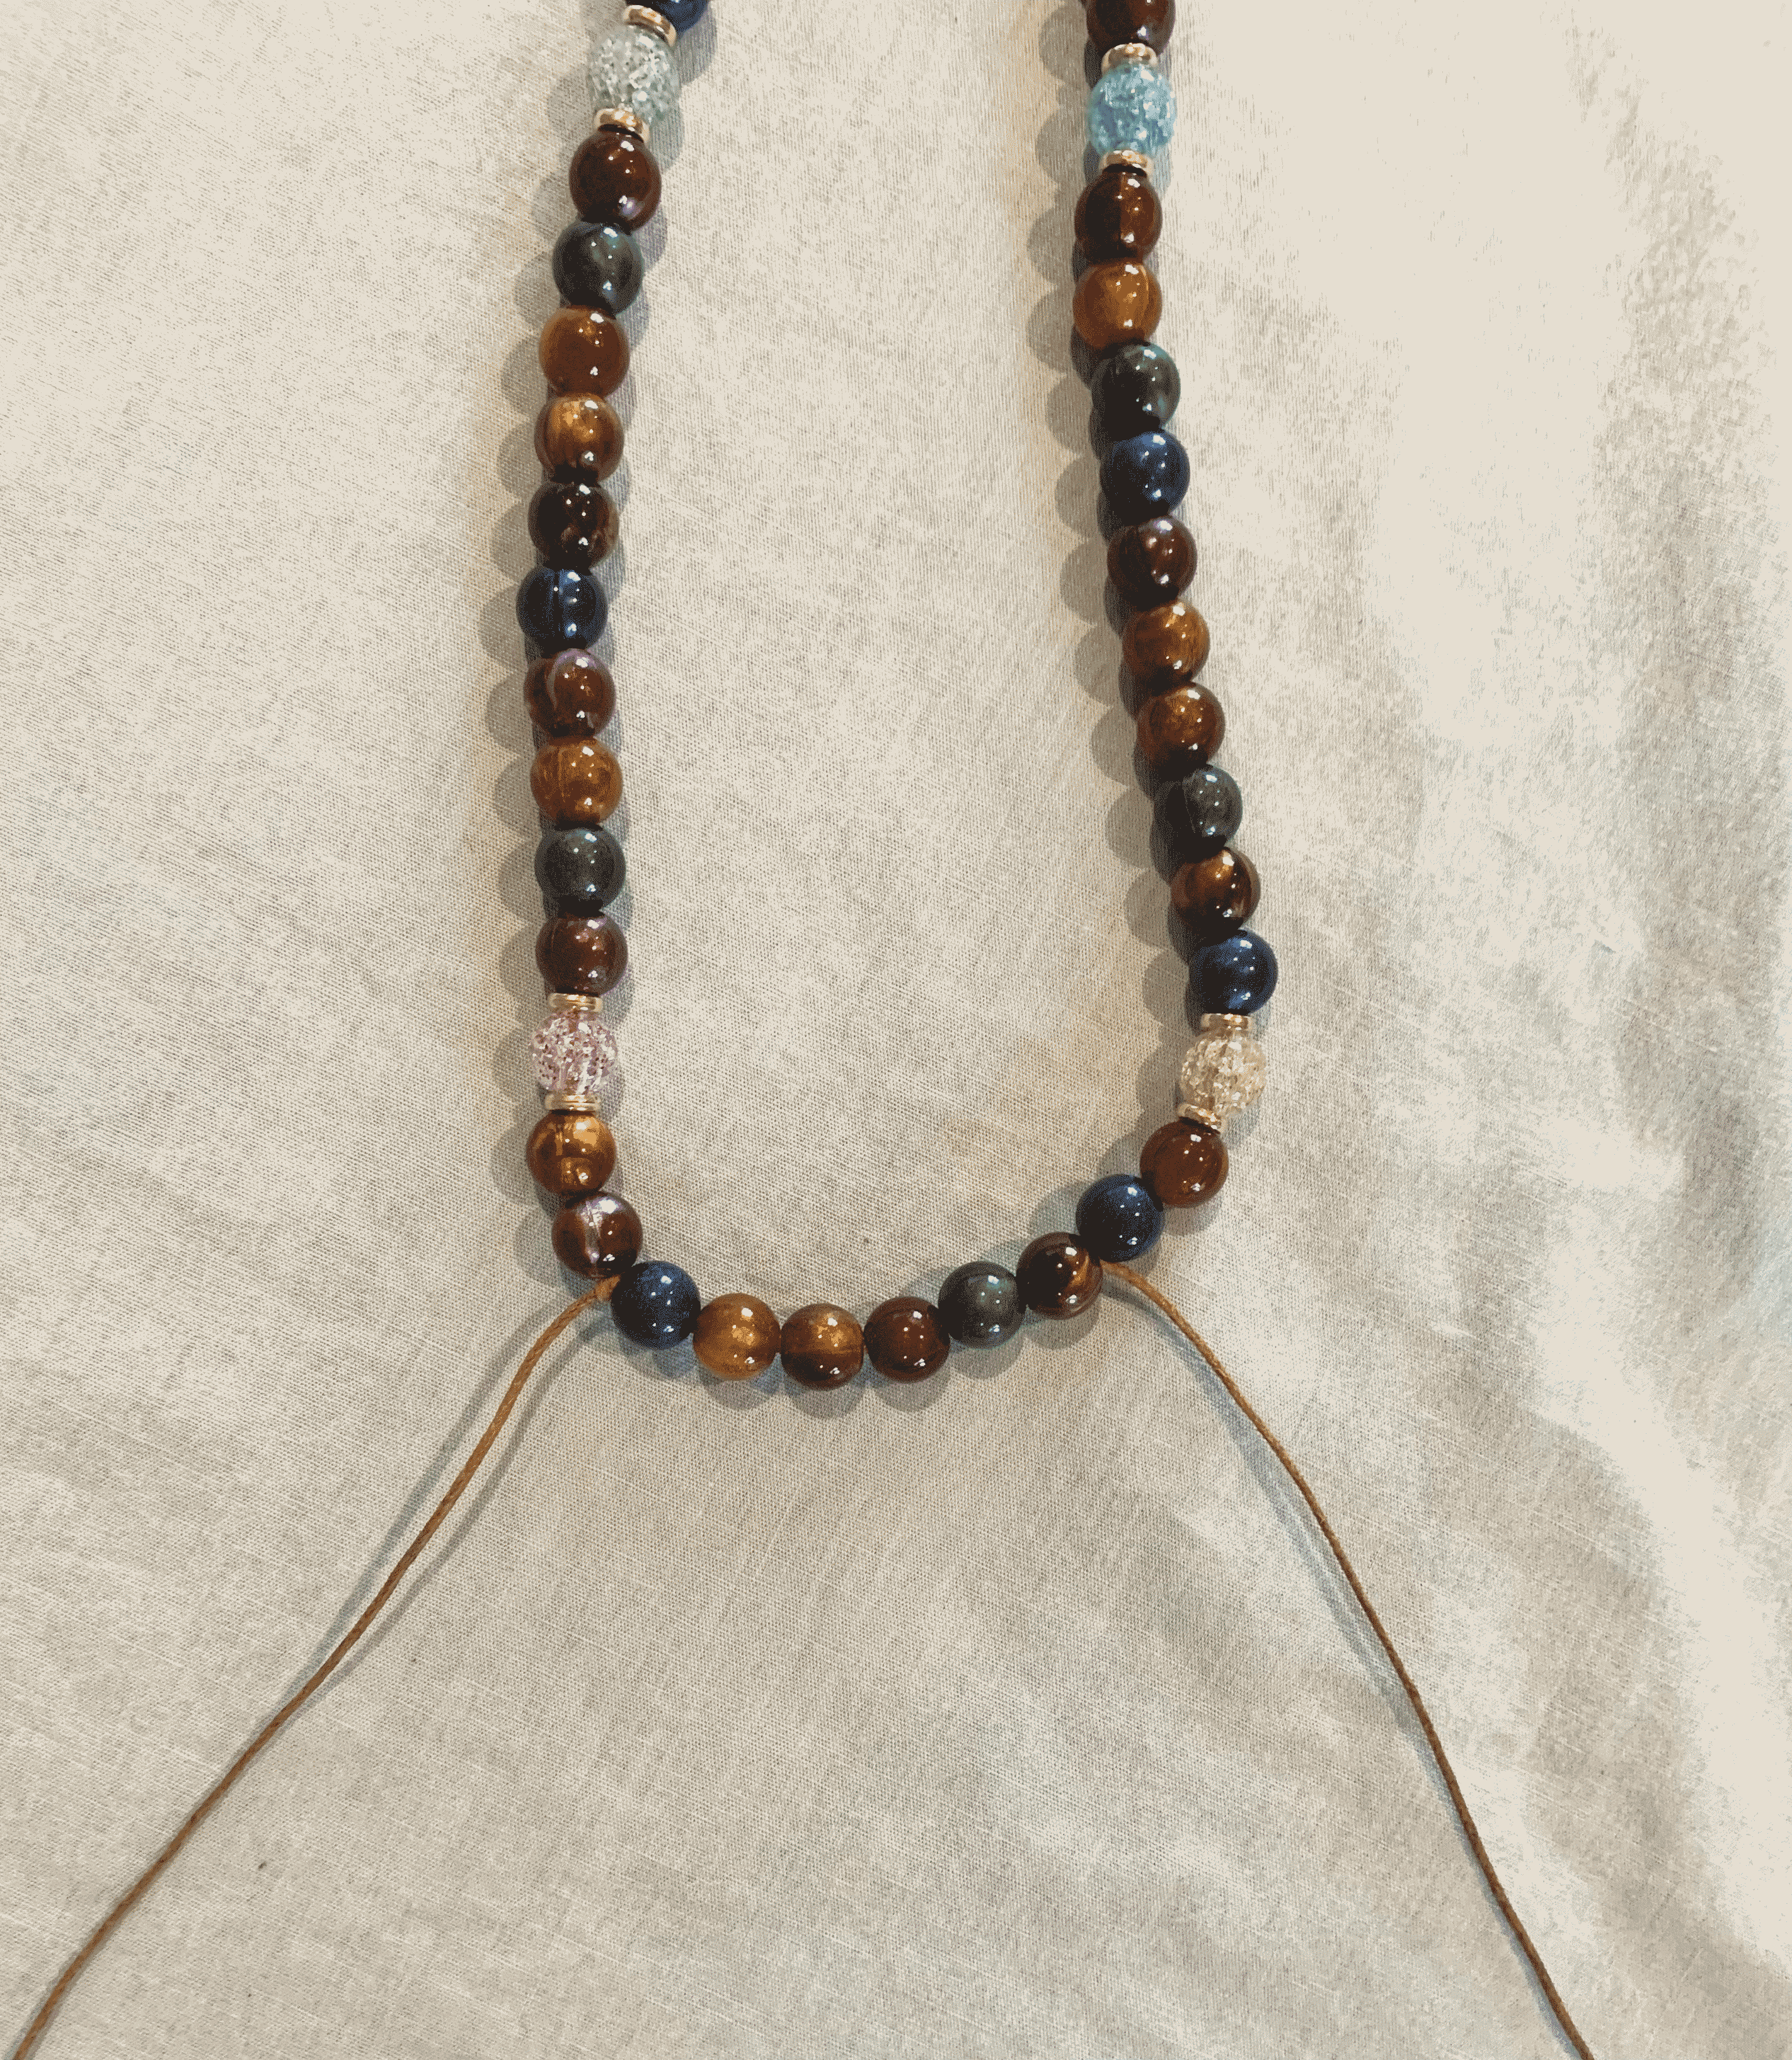
Step 15: Insert the right thread through two more beads to the right, and repeat with the left. Trim the ends.

Step 16: Congratulations! You just made your very own rosary! If possible, ask a priest to bless it. You can also learn to pray it with our guide!

Created by Angelina and Mckenna 2026